
Last updated November 18, 2026
 Architectural shingles
 Metal roofing
 Tile roofing
 GAF
 Owens Corning
 Flat & low-slope
Free roof inspection with deck photos before we talk money - GAF and Owens Corning certified installation
Roof Replacement & Installation Warning Signs Every Homeowner Should Know
Here’s the part of this business nobody advertises: a bad roof installation doesn’t leak on day one. It leaks in month 14, or month 19, right about the time the crew that put it on has moved two states over. Storm chasers know the math. Warranty claims take a year and a half to surface, and by then they’re long gone and your phone number has been deleted. So your best protection isn’t the warranty paper in your filing cabinet. It’s knowing what to look for while the crew is still parked in your driveway. This guide will walk you through the red flags you can spot from the ground on day one, the paperwork signs before anyone climbs a ladder, and the checklist you should be running in Whitney before you hand over a final check.
Quick Answer
The clearest warning signs of a bad roof installation are exposed underlayment or felt showing at the edges, nails driven too high or too low through the shingle, misaligned starter strips, drip edge that doesn’t overhang the fascia, valley flashing that goes the wrong direction, and paperwork with no license number or local address. If you can see any of those from your front yard on installation day, stop the job and ask questions before the crew packs up. Most serious installation failures are visible in the first 48 hours if you know where to look.
Styles & brands we work with
- Architectural shingles
- Metal roofing
- Tile roofing
- GAF
- Owens Corning
- Flat & low-slope
Table of Contents
- Red Flags You Can See From the Ground on Day One
- How to Check Drip Edge and Valley Flashing Without Climbing Up
- Why the Nail Pattern Matters More Than the Shingle Brand
- The Paperwork Warning Signs Before Work Even Starts
- What an Out-of-State Warranty Is Actually Worth
- Our 90-Day Walk-Through Checklist
- Why Whitney Roofs Fail Differently Than Elsewhere
- How to Vet a Roofer Before You Sign Anything
Red Flags You Can See From the Ground on Day One
You don’t need a ladder to catch the worst installation mistakes. Get out to the sidewalk, look up and to the left, then up and to the right. Give it five full minutes per side. What you’re looking for is anything that breaks the visual line of the roof plane.
The first thing to check is the bottom edge. If you can see dark grey or black felt paper peeking out below the bottom row of shingles, the starter strip wasn’t installed properly or wasn’t installed at all. The starter strip is the factory-made row of shingles with the adhesive seal cut off. It goes down first, and it’s what keeps wind from lifting the bottom edge on the first real gust. When a crew skips it to save 20 minutes, the whole thing looks fine from the street for about a year. Then the first wind storm peels the bottom row back like a sardine can.
Next look at the rakes, the sloped edges along the gables. The shingle tabs should overhang the edge by about a quarter inch to three-eighths of an inch. Any more and wind catches them. Any less and water wicks back under. Consistent overlap on both sides tells you the crew was paying attention.
- Exposed felt or underlayment along the bottom edge or gable ends
- Shingle tabs that don’t line up in clean horizontal rows
- Visible seams where shingle courses end mid-slope instead of at a hip or rake
- Ridge caps that look crooked or don’t wrap the peak tightly
- Wavy or lifted shingle tabs after the crew has finished sealing
- Debris or loose nails in the gutters, on the lawn, in the flower beds
In Whitney, the sun on a south-facing slope is unforgiving. Deck boards that were soft before the install got nailed through anyway show up as a dip in the roofline within two summers. We’ve seen it on plenty of roofs around town, and it’s the kind of thing a homeowner should be asking about on install day, not two years down the road. If you want a deeper look at repair versus replace, our Roof Repair in Whitney page walks through the tradeoffs.
How to Check Drip Edge and Valley Flashing Without Climbing Up
Drip edge is the metal strip that runs along the bottom of your roof overhang, and valley flashing is the metal channel where two roof planes meet. Both are visible from the ground, both protect the most vulnerable parts of the roof, and both are where cheap crews cut corners first.
Here’s how to check drip edge safely from grade, using binoculars if you have them:
- Stand back at the corner of the house and look up along the fascia board. The metal drip edge should sit under the shingles and overhang the fascia by about a quarter inch, so water drips past the wood instead of back behind it.
- Look for gaps or daylight between the drip edge and the fascia. Any daylight means water will get into the fascia board, the soffit and eventually the wall.
- Check the corners. Drip edge corners should join cleanly with a small overlap in the direction water flows. If two pieces just butt up against each other, that’s a leak waiting on the first hard rain.
- Walk to the valley where two rooflines meet. The metal flashing should be visible under the shingles with a clean line running down the center. The edges of the shingles on either side should be cut back parallel to the flashing, not running on top of it.
- Watch the first rain. Water should flow down the valley center, not run sideways up either slope. Water running sideways means the flashing is pitched wrong or the wrong flashing was used.
Part of the reason this matters so much in Whitney is the way rain arrives here. It doesn’t drizzle for hours. It dumps in a 20-minute cloudburst, then stops. That kind of water volume finds every weak flashing joint fast. We’ve watched a brand-new install around town dump water off a valley sideways into a soffit while the homeowner was standing in the driveway watching it happen. The crew was already gone.
Why the Nail Pattern Matters More Than the Shingle Brand
Every shingle manufacturer puts a nailing zone on the shingle. It’s a band about an inch tall running across the top of each tab. Nail inside that band and the shingle holds. Nail high and the tab hangs loose. Nail low and you puncture the layer below. Either way, the shingle that ends up lifting in the first 40-mph wind isn’t the shingle’s fault. It’s the nail gun’s.
When you’re vetting a bidder, ask one question: how many nails per shingle, and where do they land? The answer should be four nails minimum in the manufacturer’s nailing zone for a standard install, six in high-wind zones, and always in the zone. If the answer is vague, that’s your answer.
The other thing to know: the nailing pattern earns the wind rating, not the shingle wrapper. A 130-mph-rated CertainTeed or Owens Corning shingle nailed with four high nails in a 110-mph wind zone has a 110-mph roof, not a 130-mph roof. Whitney sits in a wind zone that gets kicked hard every spring, and the difference between four nails in the zone and four nails just above it shows up as soon as the first real gust rolls through.
On install day, here’s what to look for:
- Nails visible from the ground. You shouldn’t see nail heads once the next course goes over. A shiner here and there is normal. A field of them means the gun was set wrong.
- Diagonal nailing. Nails should go in roughly perpendicular to the shingle, not at a slant. Slanted nails back out over time.
- Skipped nails at hips and ridges. Those get nailed tighter than the field shingles, not looser.
- Overdriven nails. If you see a shingle tab dented with a nail head sunk into it, that nail has almost no holding power left.
If a crew won’t let you watch the nailing for 10 minutes, that tells you something. On every Shepherd & Sons job, the guys on the roof will happily let you look up the ladder and count with them.
The Paperwork Warning Signs Before Work Even Starts
Most of the worst roofing stories we hear start before a single shingle leaves the truck. They start with a handshake, a phone quote, and a business card with a P.O. box on it. Here’s the paperwork check to run before you let anyone on your roof.
- No written scope of work. The estimate should list shingle brand and product line, how many squares, underlayment type, ice and water shield spec, ridge vent type, drip edge, flashing, and the number of penetrations being sealed. If it just says “tear off and reroof,” you’re buying a mystery.
- No license number on the paperwork. Every estimate and contract should carry the contractor’s license number somewhere visible. If you can’t look it up, don’t sign.
- No local physical address. Not a P.O. box. Not a hotel. A street address you can drive past on Saturday. If the office is a mailbox three states away, the warranty is worth about the paper it’s printed on.
- No permit pulled. A roof replacement over a certain size in most jurisdictions requires a permit and a final inspection. A contractor who offers to “skip the permit to save you time” is telling you they don’t plan to be around when the inspector comes by.
- No proof of insurance or workers’ comp. Ask for a certificate of insurance naming you as the property owner. If the crew gets hurt on your roof and there’s no workers’ comp, your homeowner’s policy becomes the claim.
- High-pressure same-day discount. “If you sign today, I can knock $3,000 off, but the offer’s gone tomorrow.” Real contractors don’t need a countdown clock to sell a roof.
A roof is measured in squares, and a square is 100 square feet of roofing material. Ask any bidder how many squares they counted on your house. If two bidders come back with 28 and 34, somebody made a measurement mistake, and that mistake turns into $1,500 of change orders halfway through the job. Our Roof Replacement & Installation in Whitney page shows exactly how we document the count before we quote.
What an Out-of-State Warranty Is Actually Worth
Most shingle manufacturers, CertainTeed, Owens Corning, IKO and Atlas included, offer strong material warranties. Those warranties follow the shingle, not the installer, and they’re real. The problem is that a manufacturer’s warranty covers the shingle failing. It doesn’t cover the installation failing, and about 90 percent of roof failures in the first five years are installation failures, not product failures.
Ask a warranty question and see what you get:
- “Who honors the labor warranty?” If the answer is the state the crew operates out of, you have a problem.
- “How do I file a claim?” If it requires a phone number that reroutes to voicemail every time, that’s your answer.
- “Will the installer come back?” Ask for two names and addresses of roofs the crew did three or more years ago and call those people. Storm chasers don’t have a list, because they don’t have a history.
- “What’s the labor warranty term?” Five-year labor is minimum for a serious outfit. Anything under two years tells you they don’t want to come back.
Our written 90-Day Done Right Promise is the piece that matters up front. If something isn’t right in those first 90 days, one call brings Bill back to look at it, and we make it right. The shingle warranty behind it, whether you’re putting up CertainTeed or Owens Corning, then becomes the second line of protection instead of the only line. That’s the way it should be ordered.
Our 90-Day Walk-Through Checklist
Here’s the checklist Bill runs on every Shepherd & Sons job before the final check goes in the lockbox. If you hired someone else and want to run the same list yourself, please do. It’s not a secret. It’s just a habit.
- Deck inspection at tear-off. Walk the exposed deck and pull every soft spot. If a plank moves underfoot, it gets replaced, not covered. Photograph the deck before the underlayment goes down. If your contractor won’t show you deck photos, ask why.
- Underlayment seams. Horizontal seams overlap at least 2 inches, vertical seams at least 6. Ice and water shield at every valley, eave and penetration.
- Starter strip. Factory starter, not cut-down three-tab, running the full perimeter of every eave and rake.
- Nail count in the zone. Six nails per shingle in the manufacturer’s nailing zone, checked by pulling three random shingles at the end of the day and looking.
- Drip edge over fascia. Quarter-inch overhang, sealed corners, no gaps.
- Valley flashing pitch. Verify the metal slopes to the centerline and shingles are cut back parallel to the metal.
- Ridge vent and caps. Straight cap line, clean venting, no exposed ridge nails.
- Penetrations. Every pipe boot, chimney, skylight and vent flashed with new boots, not the old ones reused.
- Gutter flow. Run a hose for five minutes at the highest point and watch water exit the downspout.
- Site cleanup. Nails picked up with magnets across the lawn and driveway, not just the front walk. If you have a dog or grandkids, this matters.
The 90-day follow-up is where we separate ourselves from the storm chasers. Bill comes back, walks the attic looking for water stains, re-runs the hose test, and eyeballs every flashing point. If we missed something, it gets fixed on our dime, in writing. That’s the 90-Day Done Right Promise. It’s the reason our phone number is worth dialing.
Why Whitney Roofs Fail Differently Than Elsewhere
Roofing in Whitney isn’t roofing in Portland. Three things shape how a roof here lives or dies, and they all shape what a bad install actually looks like two years out.
The heat. A south-facing roof in Whitney can hit 160 degrees on a July afternoon. Asphalt shingles get soft, the sealant strips get sticky, and any shingle that wasn’t sealed to the layer below on install day lifts on the first fall wind. We see a lot of “no visible problem” installs from two summers ago that are now showing horizontal cracks running in perfectly straight lines across the roof. Straight lines mean the sealant strip never bonded and the tabs curled away before the first wind.
The wind. Whitney sits in a spring wind zone that doesn’t fool around. If a crew used four nails instead of six, or skipped the starter strip because “the factory edge is good enough,” the first 50-mph gust will find it. A properly installed roof should look exactly like it did on install day after a wind storm. A poorly installed one will start showing tabs in the yard.
The rain pattern. Whitney gets its water in a hurry. Twenty-minute cloudbursts, sometimes after months of nothing. That means the drainage details, valleys, drip edge, gutter pitch, do more work in one storm than a Portland roof does in a month. A sloppy valley will dump water into a wall before you even realize it’s raining. Metal roofs handle this pattern especially well because the seams are engineered for volume, which is why we do a lot of Metal Roofing in Whitney on the homes that get hammered the hardest.
If you want a full walk through how we approach the entire system, head back to our Shepherd & Sons Roofing Whitney home page. The point isn’t that Whitney roofs are harder to build. It’s that Whitney roofs punish sloppy installs faster than most places, and that’s actually good news for a homeowner who knows what to look for.
How to Vet a Roofer Before You Sign Anything
Ten questions to ask any bidder, in order. If they can’t answer three of them, you’re done. If they get defensive on any of them, you’re done faster.
- What’s your license number, and what street address can I visit?
- How many squares did you count, and how did you measure?
- What shingle brand and product line are you installing, and what’s the manufacturer’s wind rating?
- How many nails per shingle and in what zone?
- Are you pulling the permit, and will you show me the final inspection slip?
- Can I see deck photos from a job you did last month?
- What’s your labor warranty, in writing, and who honors it?
- Will you show me two customer references from roofs you did three or more years ago?
- Is the estimate a fixed number, or will the price change once work starts?
- Who is on my roof, and are they on your payroll with workers’ comp?
The brand question matters because every shingle brand has its own install quirks. IKO tabs need a specific nailing line. CertainTeed Landmark has a sealant strip that wants the right heat to activate. Owens Corning Duration shingles want specific offsetting. A roofer who’s set a thousand squares of one brand and 100 of another is going to be sharper on the one they know. Ask which brands they install regularly, and listen for the answer to be specific instead of “whatever you want.”
If you want to test drive the process without committing to a job, ask for a free second opinion on another bidder’s written estimate. We do them all the time, and we don’t care whose name is on the paper. That’s what our Whitney roofing team is here for.
Common Mistakes to Avoid
- Hiring off a door-knock the morning after a storm. If a crew you’ve never met is holding a clipboard at your front door the day after a Whitney hail storm, they’re not from around here. Take the card, do the research, call a name that’s been in the community for years.
- Accepting a phone quote as final. A real bidder walks the roof or at least the ground perimeter and documents the deck condition. A phone quote is a guess dressed up as a price, and it always goes up at the door.
- Skipping the permit to “save time.” Whitney-area inspections catch bad installs before they cost you. Skipping the permit skips the inspection, which skips the safety net you paid for.
- Letting the crew reuse old pipe boots and flashing. Old boots are the number one source of small leaks on a brand-new roof. New install, new boots. Always.
- Paying the final check before the walk-through. Hold the last payment until you’ve run the hose test, checked the valley flow, and looked at the deck photos. That’s not unreasonable. That’s how it should work.
- Trusting a warranty from a company with no local address. If you can’t drive past the shop, that warranty lives about as far away as the crew does. Which is usually another state.
- Ignoring the gutters after install. A newly installed roof sheds more water and debris in the first month than an old one did. Clean the gutters at 30 days or the downspouts clog and back water under the eave.
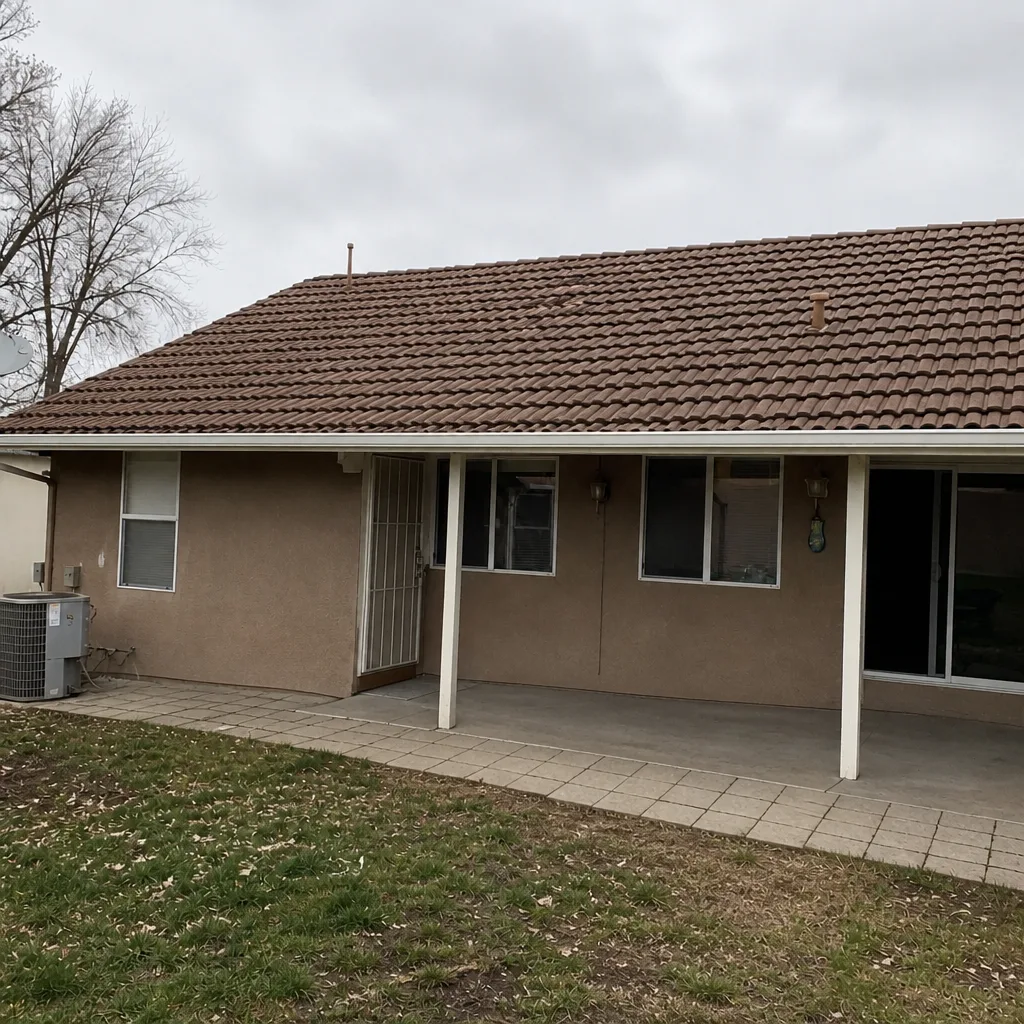
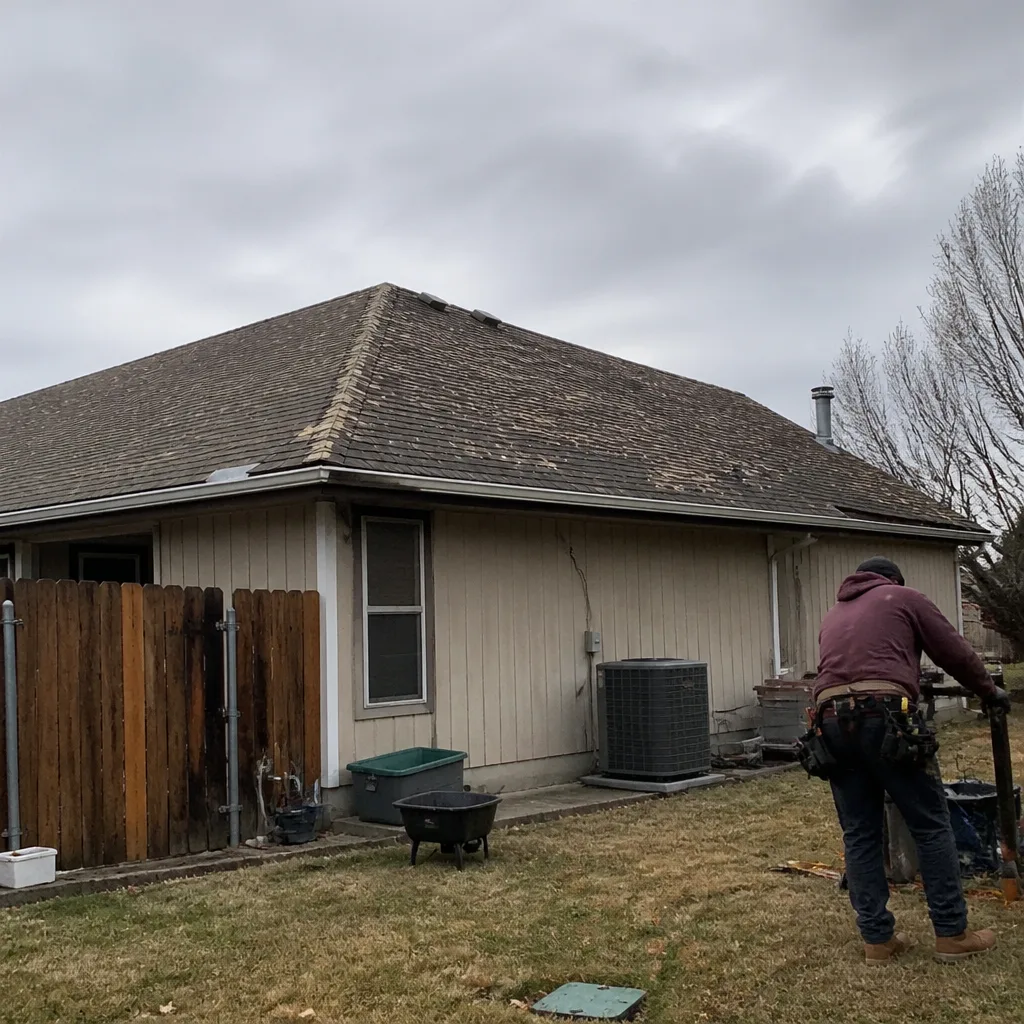
See the difference
 Before
 After
 Before
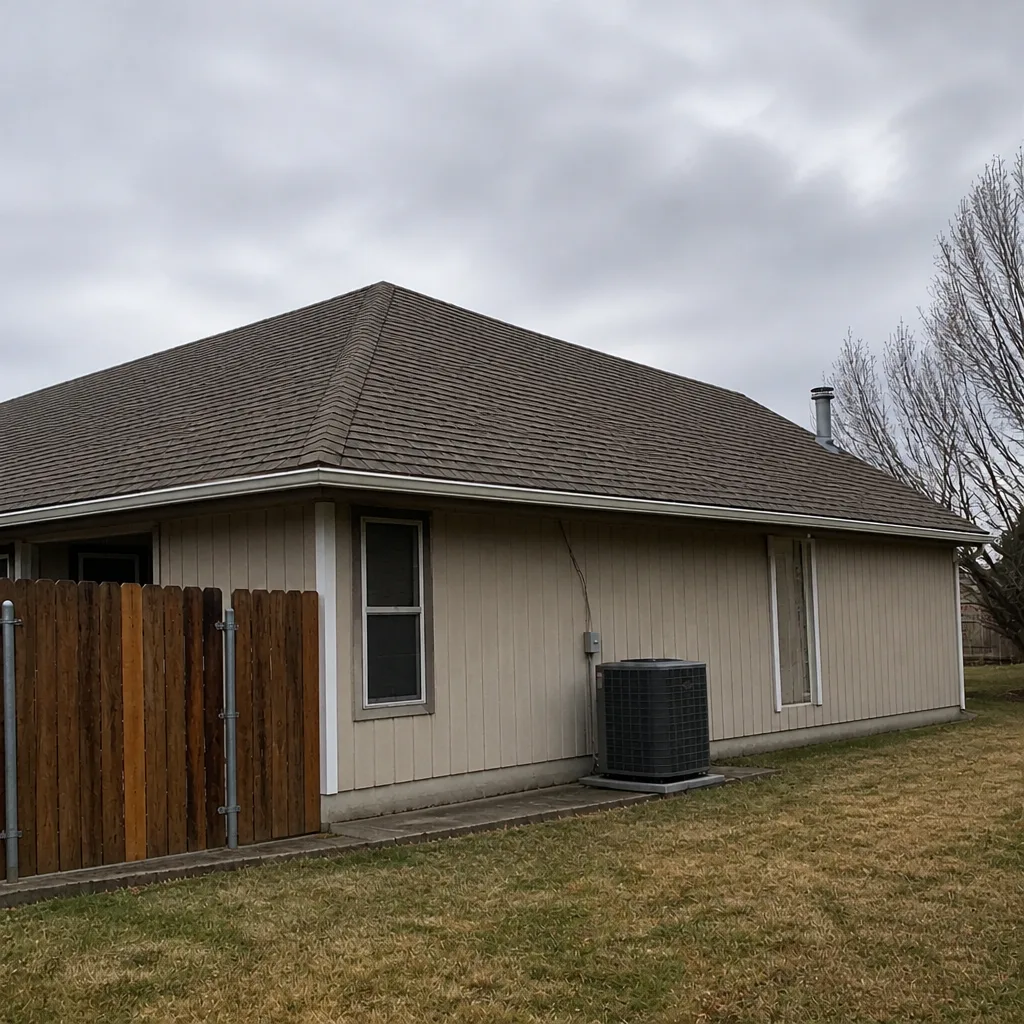 After
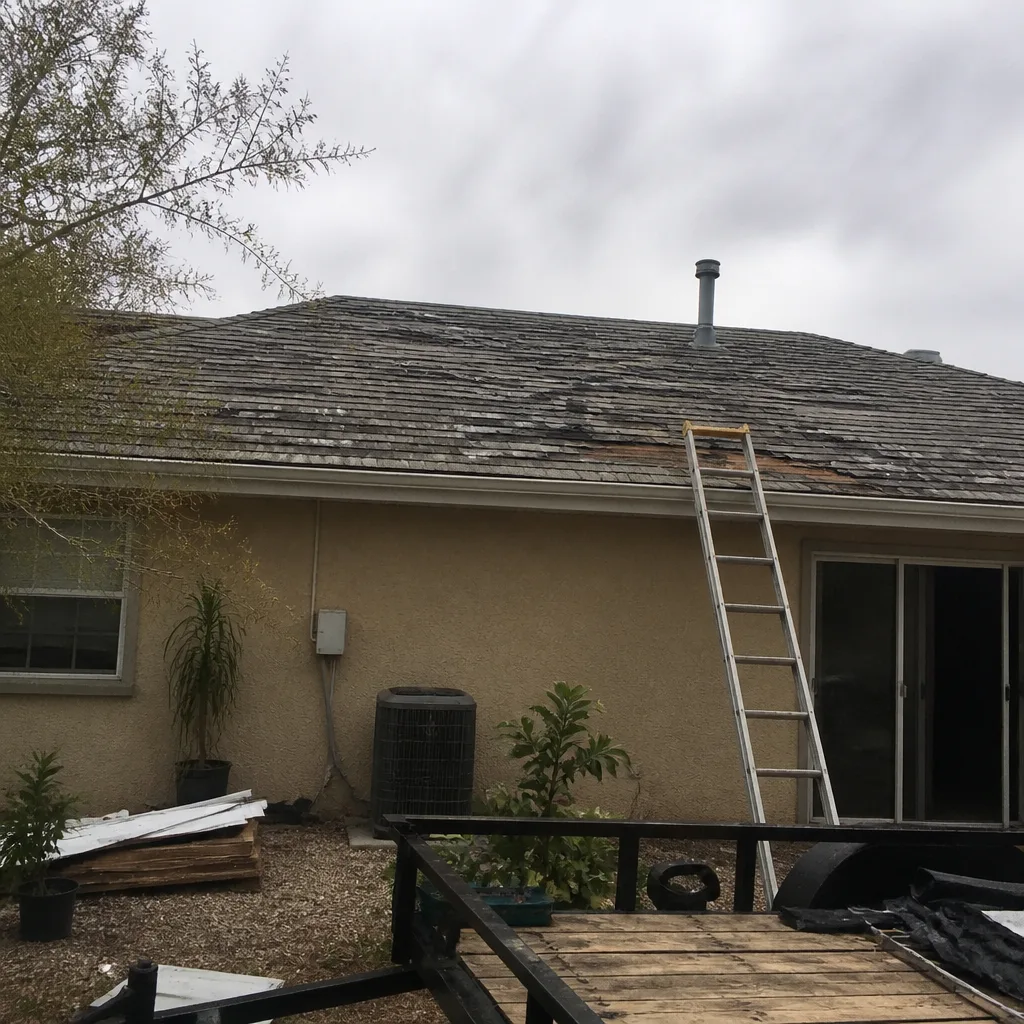 Before
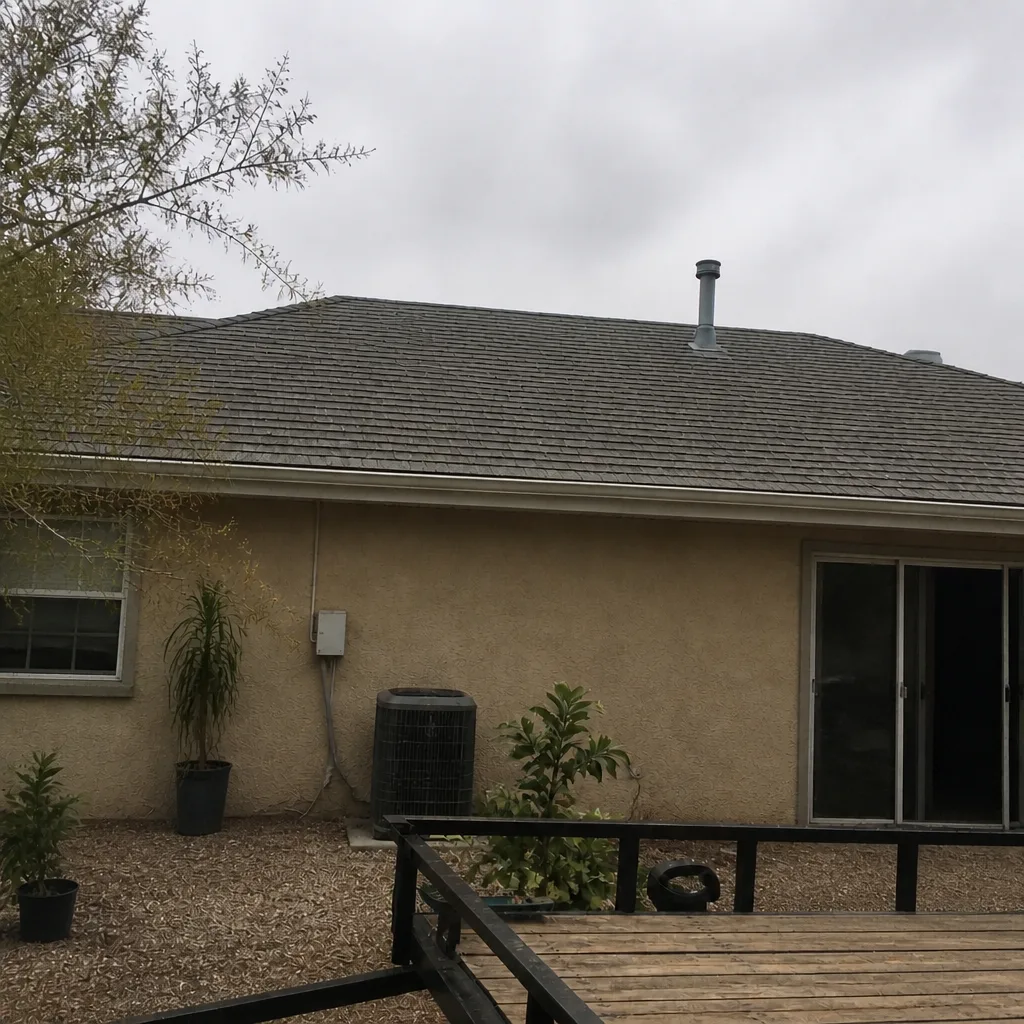 After
When to Call a Professional
Some of this guide is stuff you can check yourself from the yard. Some of it isn’t. Call a professional if you see anything on our red flag list and you’re not sure what it means. Call a professional if your roof is more than 20 years old and you don’t know its history. Call a professional after any hail storm large enough to dent a car hood, because shingle damage doesn’t always show from the ground. And call a professional before you sign a contract with an out-of-state company, even if the price looks like a steal. It probably isn’t.
Shepherd & Sons Roofing Whitney offers free estimates in Whitney. We’ll show you the deck photos before we talk money, and we’ll tell you straight if your roof has another five good years left in it. Call (844) 797-9455. A live person answers, day or night, including after a storm.
Frequently Asked Questions
The most common signs are exposed felt along the bottom edge, shingle tabs that lift within a year, visible nails, misaligned starter strip, crooked ridge caps, and drip edge that doesn’t overhang the fascia. All of these are visible from the ground if you take five minutes per side to look. If you spot any of them, call (844) 797-9455 for a second opinion before the installer leaves the job site.
Twelve to eighteen months is typical, which is exactly why storm chasers don’t worry about getting caught. The first 12 months often look fine because the sealant strips are still holding. Once the shingles go through a full heat-and-cold cycle in Whitney, an improperly nailed or unsealed roof starts showing. If you’re past 18 months with no issues, you probably got a solid installation.
Most roof replacements in the Whitney area require a permit and a final inspection. A contractor who offers to skip the permit “to save time” is telling you where they live, and it isn’t here. Confirm the permit requirement with your local building department before work starts, and ask your contractor to show you the final inspection slip when the job is done.
No. Manufacturer warranties cover the shingle failing, not the installation failing, and the vast majority of early roof problems are installation problems. Pair a manufacturer warranty with a written labor warranty from a contractor who lives in the same community. Without that labor warranty, you’re relying on a phone number that may not answer in two years.
Not safely without getting on the roof. What you can do from the ground is look for shiners (visible nail heads), check the shingle tabs for lifted or curled edges, and watch the bottom row of shingles during the first windy day. If tabs are lifting in the first 40-mph wind, the nailing pattern is likely the problem. Call a roof inspector to get up close and confirm.
Ask for their license number, their physical address, their written scope of work, the shingle brand and product line, the permit plan, the labor warranty in writing, and two references from roofs they did three or more years ago. If all six are answered without hesitation, you’re probably dealing with a real local contractor. If any one is dodged, move on. A free second opinion from us on your top bid costs nothing, and we’re happy to walk through it with you on the phone at (844) 797-9455.
The Bottom Line
A bad roof hides for 12 to 18 months. A good roofer doesn’t. From the exposed felt on the bottom edge to the nail count in the zone, from the driveway address check to the labor warranty in writing, the warning signs are there on day one if you know what to look for. Whitney homes punish sloppy installs faster than most places because of the heat, wind and rain pattern, which means the gap between a good roof and a bad one shows up fast. Keep this checklist handy. Run the ten questions on any bidder. And if you want a straight answer from a crew whose name is on the truck and the license, call (844) 797-9455 for a free estimate. We’ll show you the deck photos before we talk money.
Written by the team at Shepherd & Sons Roofing Whitney.