
Last updated November 18, 2026
 Architectural shingles
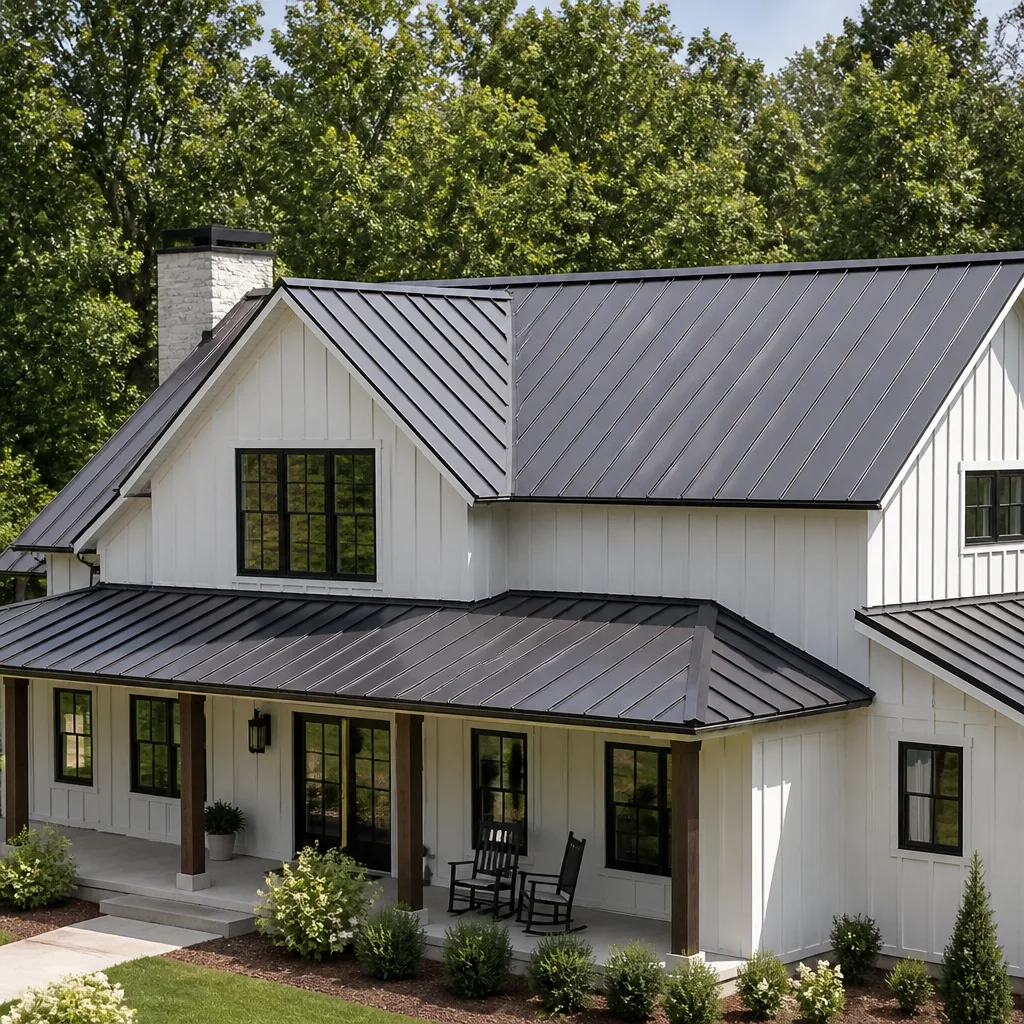 Metal roofing
 Tile roofing
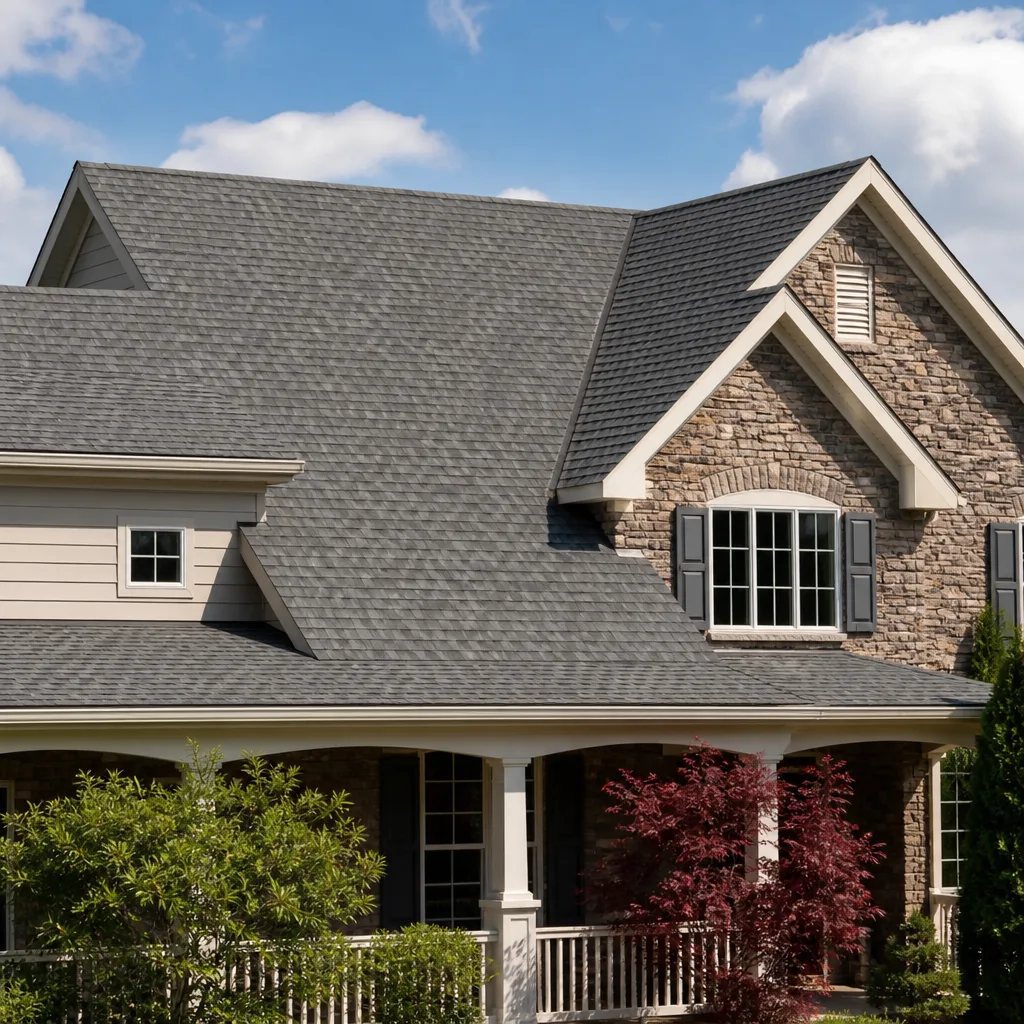 GAF
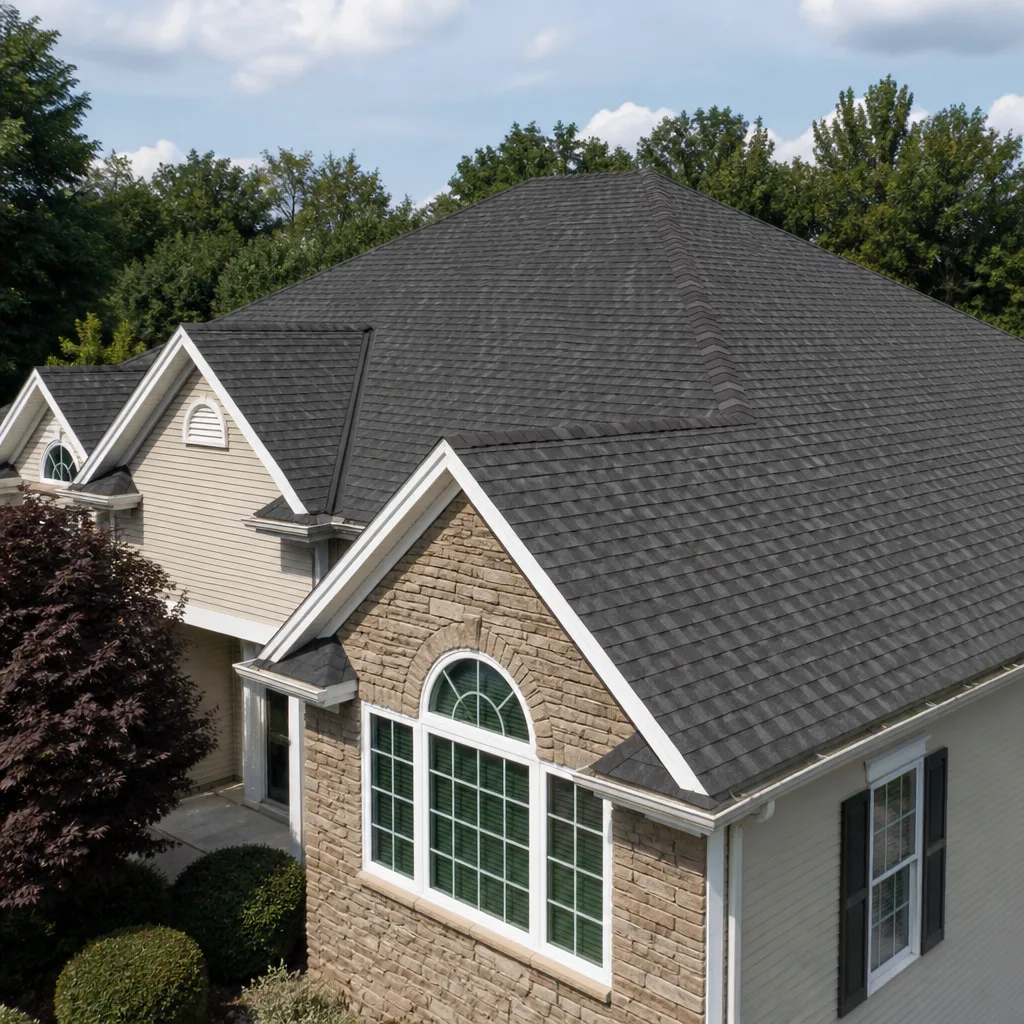 Owens Corning
 Flat & low-slope
Free roof inspection with deck photos before we talk money - GAF and Owens Corning certified installation
Roof Replacement & Installation Troubleshooting: Common Problems and How to Fix Them
We’ve torn off “new roofs” that weren’t two years old and found the same thing underneath almost every time: something was visible during the install that the homeowner either didn’t know to look for or felt too polite to ask about. A lifted starter strip. Nails driven high. A valley opened up like a gutter. The crew packed up, cashed the check, and by the time the ceiling stain showed up, they were three states away. Here’s the part nobody tells you: you don’t need to climb a ladder to catch most of these. You need to know what to look at, and you need to look before the trucks pull out of the driveway. This guide walks you through what to check, what it means, and what to do if you find a problem after the crew is gone. We’re writing it from Whitney, where the wind and summer heat test every roof we put on.
Quick Answer
Most roof replacement problems trace back to a handful of installation errors you can spot during the job: starter strip hung too far past the eave, nails driven above the nailing line, misaligned ridge caps, under-cut valley flashing, and pipe boots that never got seated to the deck. Check these five things while the crew is still on site, do a ten-minute attic inspection before final payment, and read the completed job against the contract line by line. Catching a problem early is cheap. Catching it six months later is a fight.
Styles & brands we work with
- Architectural shingles
- Metal roofing
- Tile roofing
- GAF
- Owens Corning
- Flat & low-slope
Table of Contents
- The Five Installation Errors You Can Check During the Job
- What to Look For at the Attic Hatch: A 10-Minute Inspection
- The Two Installation Mistakes That Void Most Shingle Warranties
- Reading the Finished Roof Against the Contract
- What to Do When You Find a Problem After the Crew Is Gone
- Why Whitney Roofs Fail Differently
- Common Mistakes to Avoid
- Frequently Asked Questions
The Five Installation Errors You Can Check During the Job
You don’t need a roofing background to watch for these. You need eyes on the ground, a phone camera with a zoom, and the willingness to ask a question while the crew is still there. On every roof replacement we do in Whitney, these are the five we’d want a homeowner to double-check if they were watching us – because they’re the ones that turn into leaks.
- Starter strip overhang. The starter course should sit flush with or barely past the eave edge – roughly a quarter inch, not a hand’s width. A starter that hangs out too far catches wind at the eave and can peel back in a strong gust. From the ground, look up at the drip edge line: it should be straight and even, not wavy or stepped.
- Nail pattern at the eave. Nails driven too low at the eave, or too high, don’t hold. Proper placement puts the nail through the shingle’s nailing line, which sits just above the exposure. From the ground you won’t see every nail, but you can see wandering nail heads and shingles that look scuffed or torn from over-driving. Ask the crew foreman how they set their guns for the eave course.
- Ridge cap alignment. Ridge caps should run straight down the peak with consistent overlap and a clean factory edge. If the ridge looks like a zipper – gaps, bunched caps, caps flipped the wrong way – wind gets under. Take a photo straight down the ridgeline. A crooked ridge is a visible problem you can raise before final payment.
- Valley flashing exposure. Where two roof planes meet, the valley should be a clean channel with the metal flashing visible and the shingles cut back from it. If shingles are laid over the metal or the cut line is ragged, water will find the seam. Ask the crew to show you a photo of the valley before they close it in.
- Pipe boot seating. Those rubber boots around plumbing vents need to sit flat on the shingle and be sealed with the collar lapped over the course below. If a boot looks cocked, lifted, or smeared with a pile of caulk in place of proper seating, that’s the first leak pending. Look at every vent stack from the ground with a zoom lens.
If something looks off, ask. A good crew will explain it in ninety seconds. A bad crew will get defensive. That reaction tells you more than the shingle ever will.
What to Look For at the Attic Hatch: A 10-Minute Inspection
This is the inspection we recommend every homeowner do before the crew packs up and before final payment changes hands. It takes ten minutes and a flashlight, and you never get on the roof. You stick your head in the attic and look up.
Here’s what proper deck work looks like from underneath:
- Nail tips through the deck. You should see a scatter of nail tips poking through the roof sheathing in a fairly even pattern, sitting roughly in the middle of each shingle course – not clustered near the eave, not near the ridge, and not poking through the same spot half a dozen times. A wandering, uneven pattern means the crew wasn’t hitting the nailing line above.
- No daylight. Any pinprick of daylight through the sheathing is a hole. A missed nail above is a hole below. Look carefully along the edges and around penetrations where crews work fast.
- Stains and streaking. Fresh water staining or active dripping after a rain, even a light one, means the deck is wet – usually from a valley, a boot, or a vent that didn’t seat. Check the chimney chase and around every pipe.
- Loose or missing sheathing panels. If a section of deck looks hacked out or a panel was left loose, it needs to be addressed. Ask the crew to fix it before they finish.
- Ice and water shield evidence. You won’t always see this from the attic, but if you can, look for a dark membrane at the lowest courses near the eave. That’s the shield – and if it isn’t there, ask why not.
Take photos. Note anything odd. Then walk out and have a conversation while the crew is still there to fix it. It’s the cheapest moment in the whole project to raise a concern.
The Two Installation Mistakes That Void Most Shingle Warranties
When a shingle manufacturer gets a warranty claim, they don’t just look at the shingle. They look at how it was installed – because installation errors void coverage faster than any defect. We’ve seen homeowners get denied on a legitimate claim because of the two mistakes below. Both are visible if you know what to look for.
Mistake one: nails driven above the nailing line or at the wrong depth. Every shingle line has a specific nailing band. Nails high or low don’t grip the shingle’s reinforced nailing area. Over-driven nails punch through; under-driven nails leave the head proud so the next course doesn’t lie flat. Either way, the manufacturer has a documented reason to deny. Proper depth is flush to just barely below the shingle surface – not through it, not floating above. On GAF, Atlas, and Tamko shingles, that band is printed right on the shingle.
Mistake two: too few fasteners, or fasteners clustered on one side. Most manufacturers require a specific number of nails per shingle, and they require them placed in a set pattern. A crew that runs one side of the nailing line to save time has installed the roof to a lower wind rating – even if the shingle wrapper promised something better. The nailing pattern earns the wind rating, not the shingle wrapper. If your insurance premium or wind endorsement depends on a rated install, this is where the denials come from.
How to confirm your crew didn’t make either mistake: ask for a written nailing pattern spec before they start (manufacturer requirements are public and printed on the bundle), and after the job, ask the foreman to walk the attic with you and point out the pattern. A crew that installs to spec will be happy to. One that won’t is telling you something.
Reading the Finished Roof Against the Contract
Your contract is the measuring stick. Once the crew is off the roof, you should be able to walk the contract line by line and match each item to something you can see. If a spec line doesn’t have a visible match, ask.
Here’s how to read the lines that matter most:
- “Ice and water shield at eaves.” In practice, this means a self-adhering membrane applied over the deck at the eaves, extending up past the interior wall line – usually at least two courses. It should also be run through valleys. On a Whitney roof, this matters: the summer storms here drive water sideways. What a crew might substitute: a single narrow strip at the very edge, sometimes called a starter roll, laid flat and not actually reaching the wall line. If it doesn’t reach the warm wall, it isn’t doing its job in a wind-driven rain.
- “Synthetic underlayment.” Underlayment is the weather barrier over the entire deck. It should be a full field of material, lapped properly at seams, not spot-applied or skipped in favor of the shingle sitting on bare deck. From the attic you can’t always see it, but you can ask the crew for photos before the shingle went down.
- “Drip edge.” Metal flashing at the eave and rake that lets water shed off the edge and away from the fascia. Look from the ground: a straight, clean metal line at the edge. If you see shingle edge over fascia with no metal, drip edge wasn’t installed – or wasn’t installed everywhere.
- “Ridge vent.” If the contract promises ridge ventilation, you should see a continuous vent at the ridge under the caps, not just caps over deck. Ridge vent shows as a raised, perforated strip running under the finished ridge line.
- “Number of squares.” A roof is measured in squares, and every square is 100 square feet of finished surface. Ask any bidder how many they counted, and ask your installed contractor how many bundles they ordered. If the number of bundles doesn’t align with the squares on the contract, ask why. Under-ordering is a common shortcut that leaves corners un-shingled or patched.
None of this is meant to turn you into an inspector. It’s meant to give you a fair checklist so you can ask one informed question at the right moment. That’s usually enough to keep a crew honest.
What to Do When You Find a Problem After the Crew Is Gone
Sometimes the problem shows up weeks later – a ceiling stain after a rain, a shingle flipped in a gust, a pipe boot that started leaking in July. Here’s the straight talk on the order of operations.
- Document everything immediately. Photos of the problem from both the ground and (safely, from the attic) the underside. The date. The day you first noticed it. The weather conditions. If you had a written estimate and a signed contract, pull those out and put them with the photos. Every detail helps.
- Call the contractor first, in writing. Email is your friend. State the problem, attach the photos, and ask for a date they’ll come out to look. Keep the tone professional. A contractor who stands behind the work will respond. One who wants to ghost you just created a record.
- Check your written warranty or promise. If the contractor offered a workmanship warranty in writing – and every job should – read exactly what it covers and for how long. If the warranty doesn’t cover the issue, that’s a conversation to have, not a dead end.
- If they won’t respond, file a licensing board complaint. Every state with contractor licensing has a board and a complaint process. You’ll need the contractor’s license number (it should be on your contract and on the truck) and the documentation from step one. This is the single most effective lever a homeowner has.
- Consider small claims for smaller dollar amounts. Most states have a low threshold for small claims where you can represent yourself. For a few hundred to a few thousand dollars, it’s a real option. Bring the photos, the contract, and the email thread.
- Know when to cut losses. If a storm chaser with no local address, no license number, and no van in the driveway did the work, the cost of chasing them is often more than the cost of a proper repair. Call a local roofer with a real address, get it documented, and move on. It stings, but it’s the truth.
One thing worth saying plainly: catching a problem before payment is almost always a ninety-second conversation. Catching it after is half a day of paperwork. If you’re having a roof replaced in Whitney and want a second set of eyes on what the first crew is doing, we’ll come look. Free second opinion on any written estimate, no trip charge inside our county.
Why Whitney Roofs Fail Differently
Whitney isn’t a shingle-roof town the way the manufacturer’s brochure imagines. We get dry heat that bakes the volatiles out of asphalt faster than the shingle’s rated life assumes, and we get the occasional hard summer monsoon that turns a shingle edge into a wind-tunnel test. The combination shows up as the same problems every few years: lifted eave courses, dried-out pipe boots, and ridges that pull apart from thermal cycling.
That means the installation details matter more here than they do in a temperate climate. Starter strip nailing at the eave has to be right because that’s where the wind first grabs. Pipe boots crack faster when the sun beats on them, so getting them seated flat, not stretched over a chunk of caulk, buys years. And the drip edge has to actually be metal – not just a shingle edge hanging over the fascia – because summer runoff here hits hard and fast.
We install products from GAF, Atlas, and Tamko regularly in Whitney for exactly this reason. The brand matters less than the installation pattern behind it. A builder-grade shingle nailed to spec will outlast a premium shingle nailed wrong. That’s just how it works.
If you’re confused about what your roof needs and you want a real conversation instead of a sales pitch, our Roof Replacement & Installation in Whitney page covers the process from tear-off to final walk-through. If a repair is all you need, Roof Repair in Whitney walks through what’s fixable and what isn’t. And if a metal roof was ever on the table for you, Metal Roofing in Whitney is the honest comparison. Start at the Shepherd & Sons Roofing Whitney home page if you want to see how we work before reaching out.
Common Mistakes to Avoid
- Paying in full before you walk the attic. Final payment should be the last step, not the middle one. Do the ten-minute attic check first. Every time.
- Taking a phone quote as a real number. A real roof bidder measures the roof, counts the squares, and shows you the deck photos before they talk money. If someone gives you a price over the phone without looking, that number will change.
- Letting a crew skip the manufacturer’s nailing spec. Ask the foreman to show you the printed pattern on the bundle. It’s printed for a reason, and warranties hang on it.
- Assuming “ice and water shield” means the same thing to every crew. On a Whitney roof, the membrane should reach the interior wall line, not just an edge strip. Ask the foreman to show you the plan, not just say the phrase.
- Hiring a storm chaser with out-of-state plates. After a Whitney hailstorm, out-of-area crews roll in and are gone by the next storm. The address on the truck is the first thing to ask about. The second is the license number.
- Ignoring a lifted shingle because it “doesn’t leak yet.” A lifted shingle in Whitney is a lifted shingle that will tear off in the next wind event. Fix it while it’s a repair, not a replacement.
- Skipping the written warranty. Any promise that isn’t on paper doesn’t exist. Get it in writing, on every job.
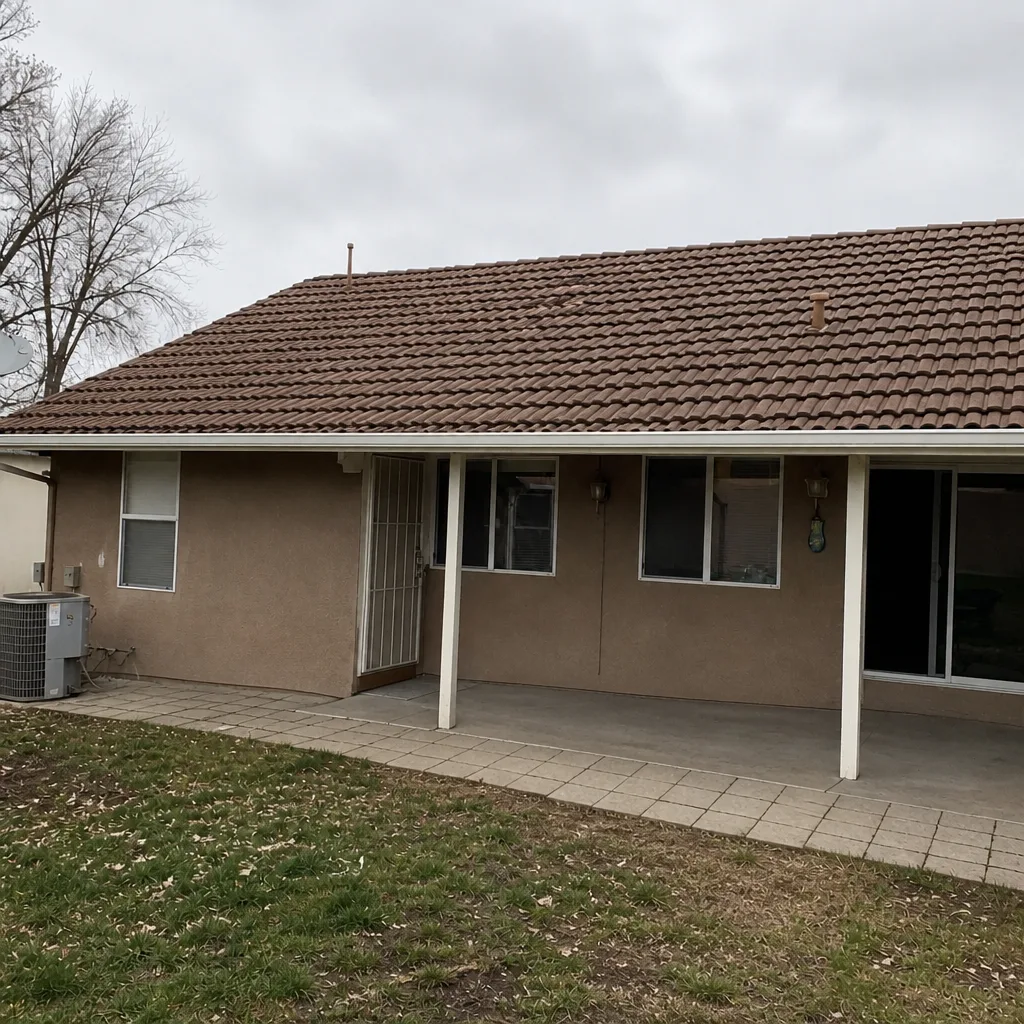
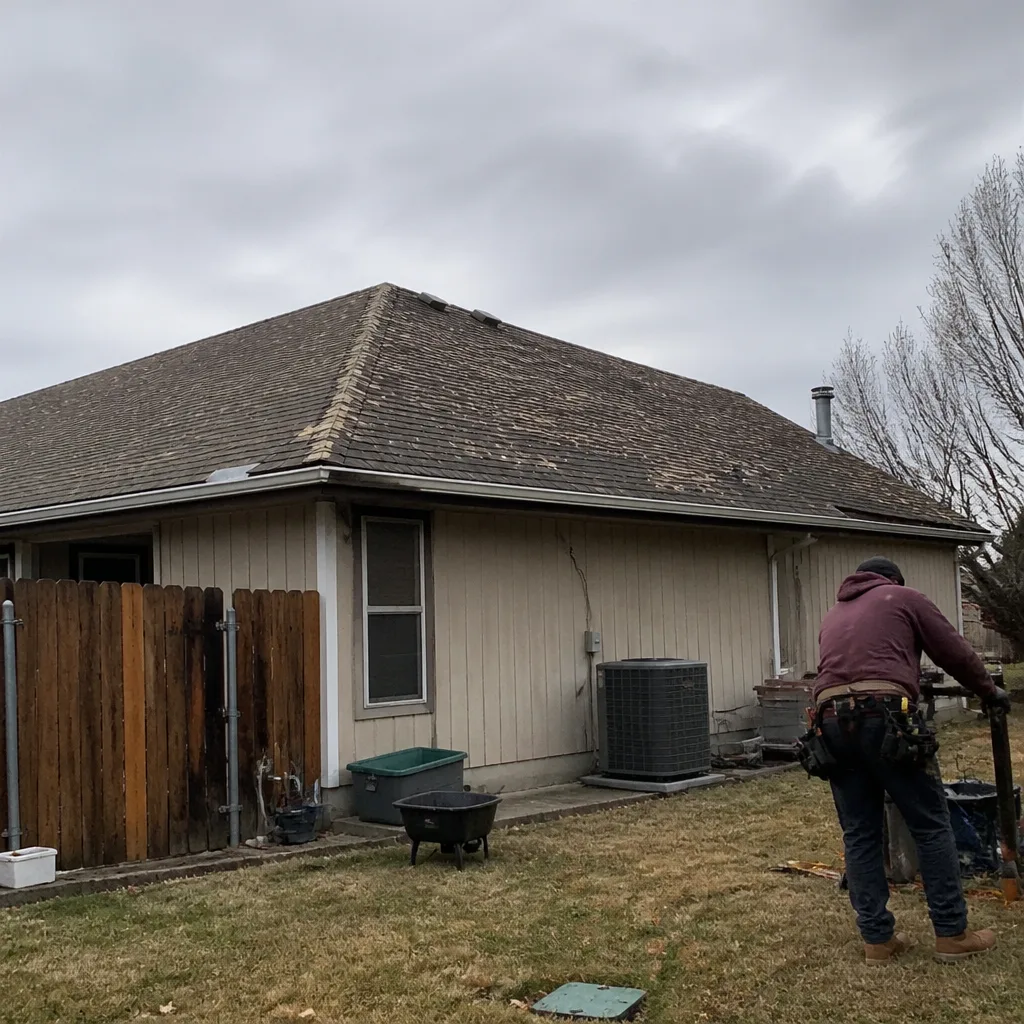
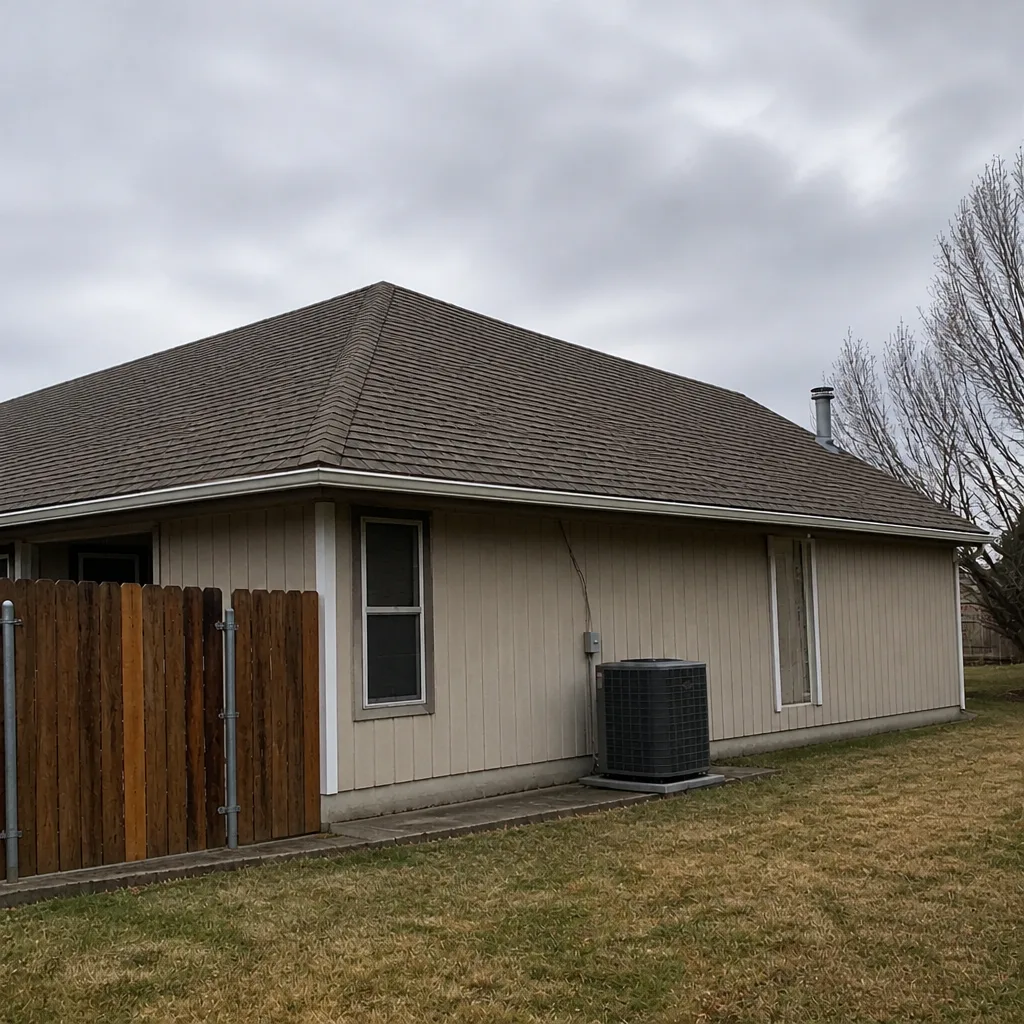
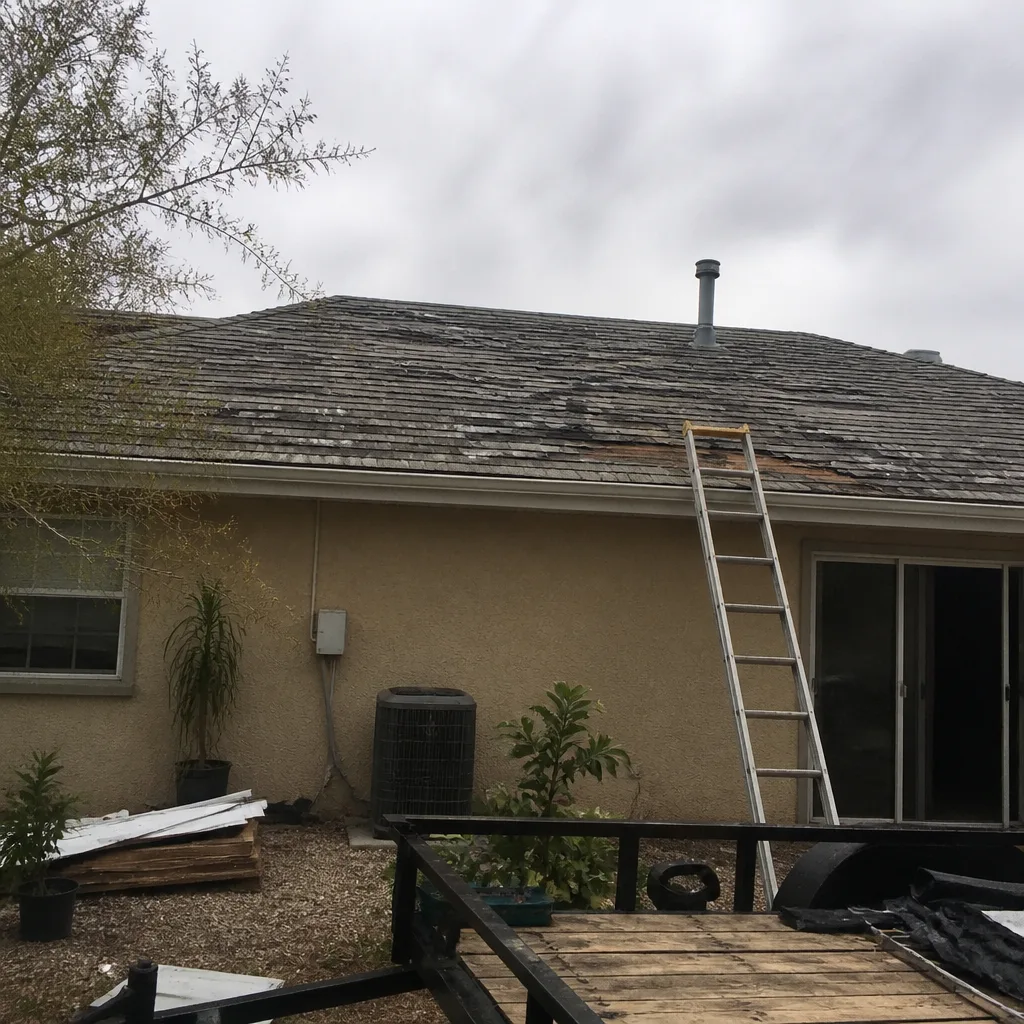
See the difference
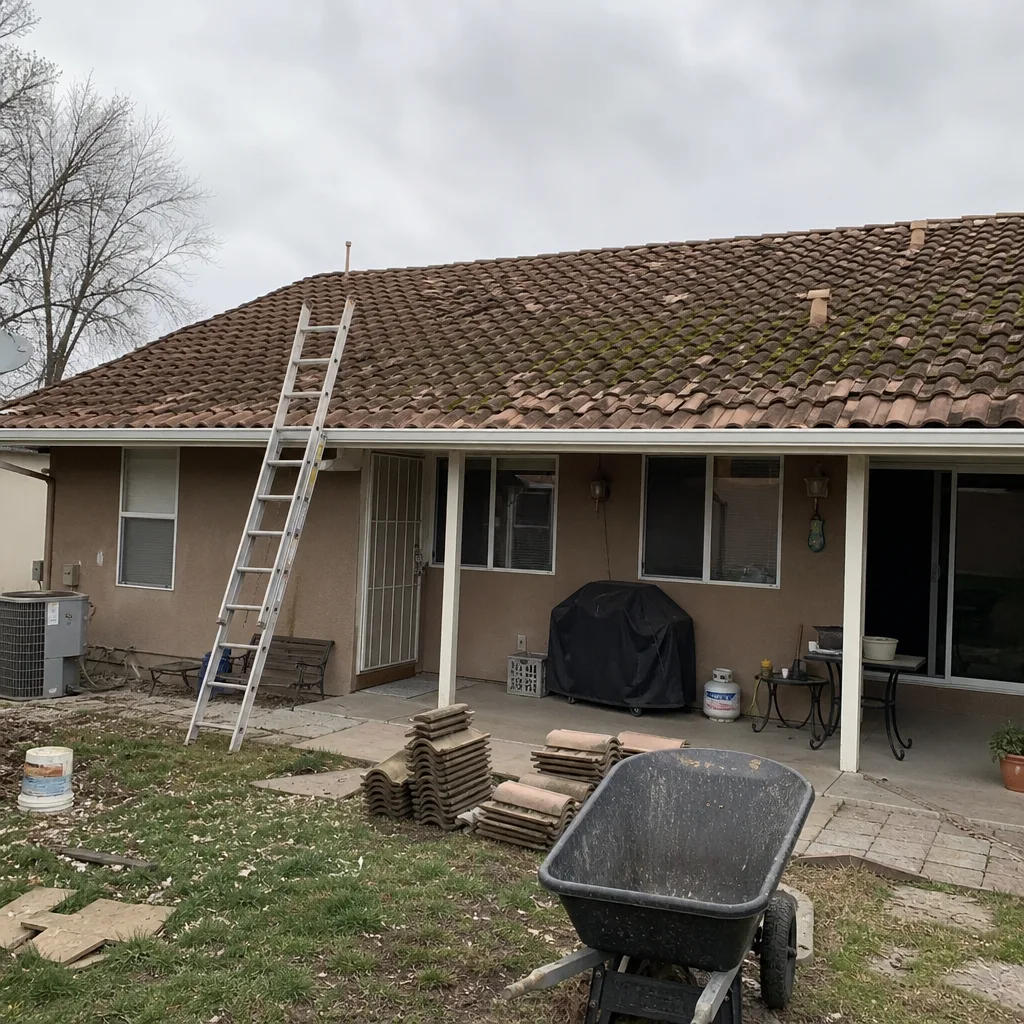 Before
 After
 Before
 After
 Before
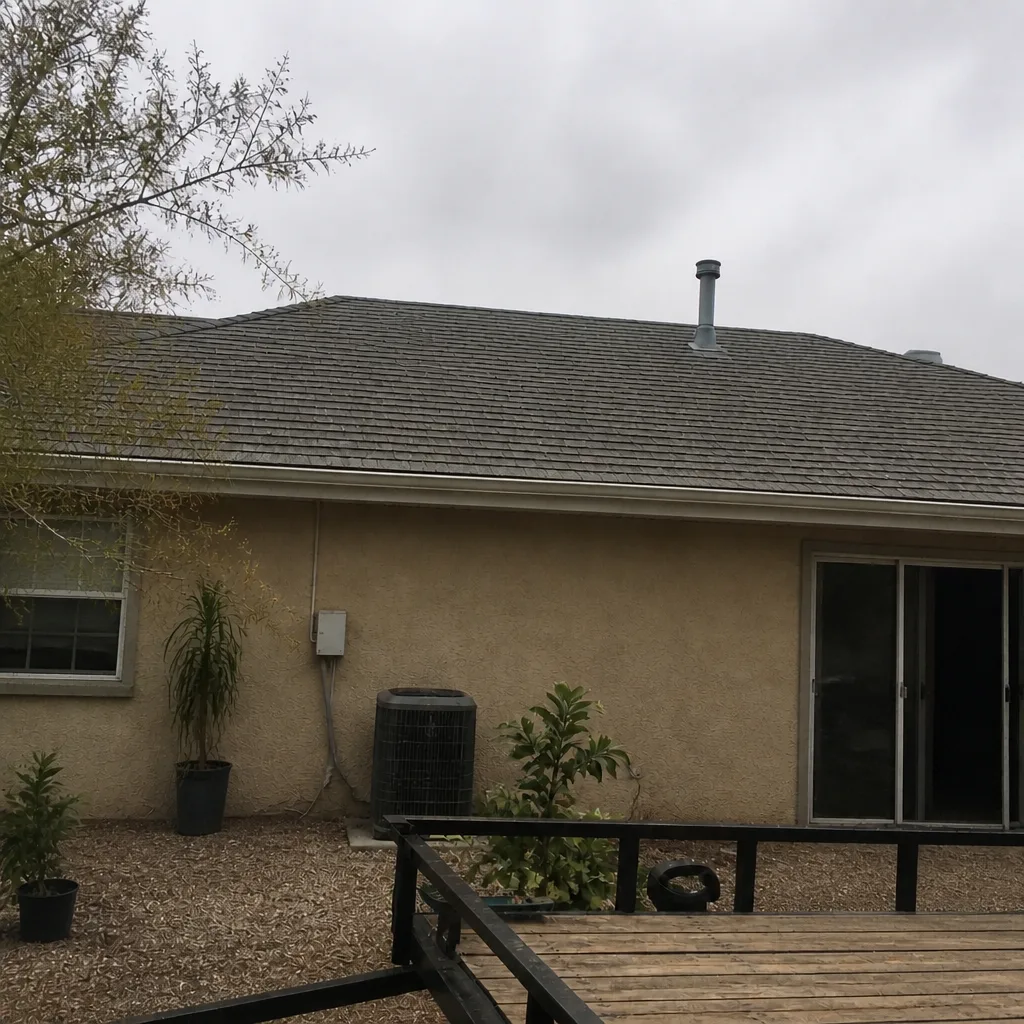 After
When to Call a Professional
Some of this you can check yourself. Some of it you can’t. If you’re seeing active water stains after a light rain, a shingle flipped up after a windy day, a pipe boot that’s cracked or lifted, a ridge that’s separated, or a valley you can see daylight through from the attic, call a roofer. Same if you’re mid-install with a crew you don’t trust and you want a second set of eyes before final payment. Behind that call, if the problem is spring-tension, gas-line, or steep-roof territory, that’s for trained hands only. Don’t climb, don’t open, don’t guess. Shepherd & Sons Roofing Whitney offers free estimates in Whitney – call (844) 797-9455 and a live person will pick up, day or night.
Frequently Asked Questions
Look during the install and again from the attic before you make final payment. The visible signs are a wandering nail pattern, a starter strip hanging well past the eave, a crooked ridge, an exposed valley flashing, and pipe boots that don’t sit flat. From the attic, look for daylight pinpricks, uneven nail tips, and any water staining. If any of those are present, raise the question while the crew is still on site. Call (844) 797-9455 if you want a second opinion on what you’re seeing – it’s free.
The three we see most in Whitney roofs: starter strips hung too far past the eave to catch the summer wind, pipe boots half-caulked instead of properly seated (they crack fast in the heat), and drip edge skipped in spots. Each one costs more to fix at six months than it would have during the install. Call (844) 797-9455 for a second opinion on your current roof’s install.
Yes. Nails driven outside the nailing band or too few fasteners on a shingle are the two reasons manufacturers most often deny a claim. Both are specified on the shingle wrapper and in the manufacturer’s installation manual. Ask your crew to show you the printed nailing pattern and walk the attic with you – a crew that installs to spec will be happy to. Call (844) 797-9455 if you want an honest read on an existing roof.
It means a self-adhering membrane applied over the deck at the eave, extending up past the interior warm wall line – not just a thin strip at the very edge. In Whitney’s wind-driven summer storms, a membrane that stops short of the wall line doesn’t protect the wall. Ask the foreman to show you the plan on the deck before the shingle goes down. For an estimate on a replacement done to spec, call (844) 797-9455.
Document everything with photos and dates, put your request in writing by email, and then file a complaint with your state’s contractor licensing board – they have the contractor’s license number on file and the leverage to act. For smaller dollar amounts, small claims court is a real option. If the original contractor was an out-of-state storm chaser with no local presence, cut your losses and get a real repair done. Call (844) 797-9455 for a free second opinion on what’s actually wrong.
Watch the five things covered in this guide while the job is running: starter strip, eave nailing, ridge alignment, valley flashing, and pipe boots. Do the attic inspection before final payment. Ask for the manufacturer’s nailing spec in writing and compare it to what you see. And read the finished roof against the contract line by line before you write the last check. A crew that’s proud of its work won’t mind any of it. Call (844) 797-9455 if you want a second set of eyes during an active install.
The Bottom Line
Most problems with a new roof don’t show up during the job. They show up six months later as a leak, a lifted shingle, or a failed ridge – and by then the crew that installed it may be out of state. The fix is not to become an expert. It’s to know what to look for while the crew is still on site and to ask one informed question at the right moment. Check the five visible things. Walk the attic before you pay. Read the finished roof against the contract. If you find a problem after the crew is gone, document it in writing, call the contractor, and use the licensing board if you have to. A Whitney roof done right will last you a couple of decades. Done wrong, it will cost you twice.
If you’re having a roof replaced in Whitney and want an honest second set of eyes before the final check is written, that’s what we do. Roof Replacement & Installation in Whitney walks through our process start to finish. Every job is backed by our written 90-Day Done Right Promise, we install GAF, Atlas, and Tamko systems, and a live person answers the phone 24/7. Call (844) 797-9455 for a free estimate, or stop by – same address since 1996. Ask the storm chasers where theirs is.
Written by the team at Shepherd & Sons Roofing Whitney.