
Last updated November 18, 2026
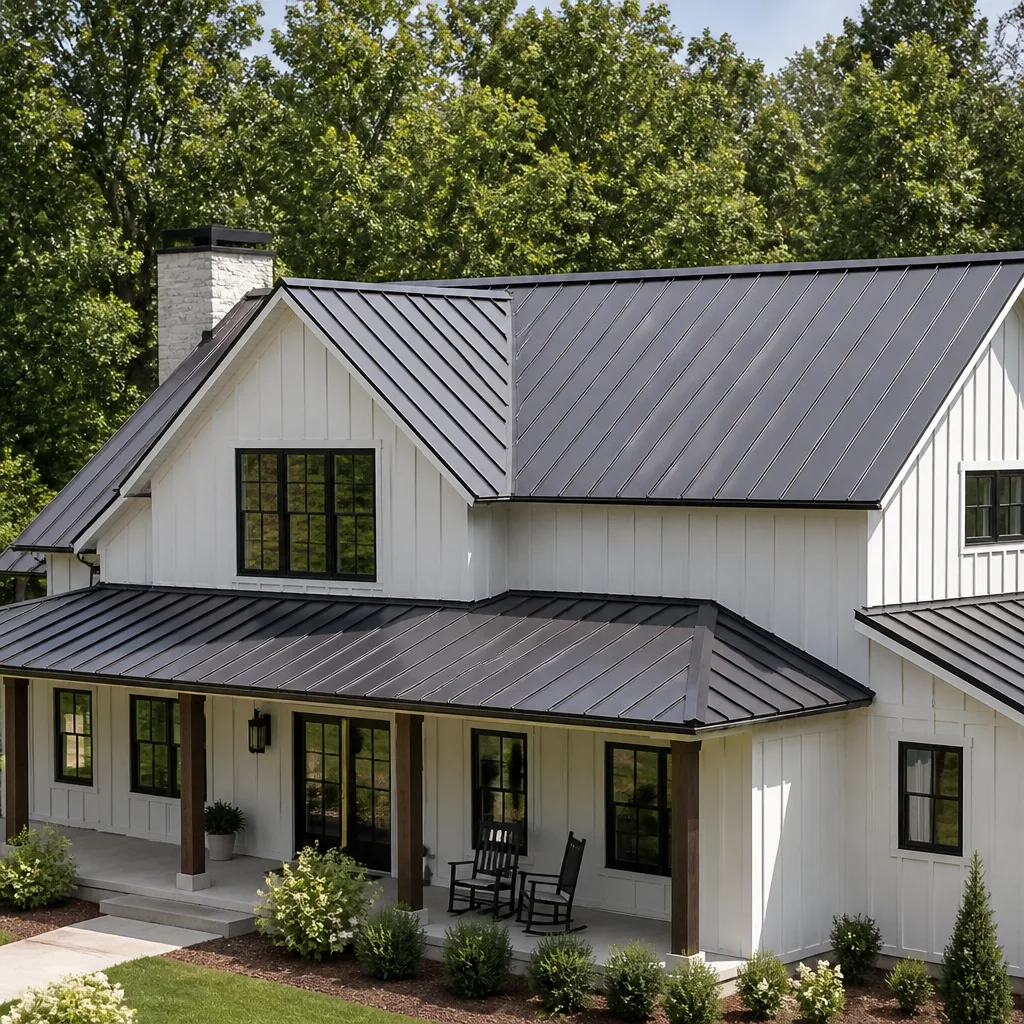 Metal roofing
 Architectural shingles
 Tile roofing
 GAF
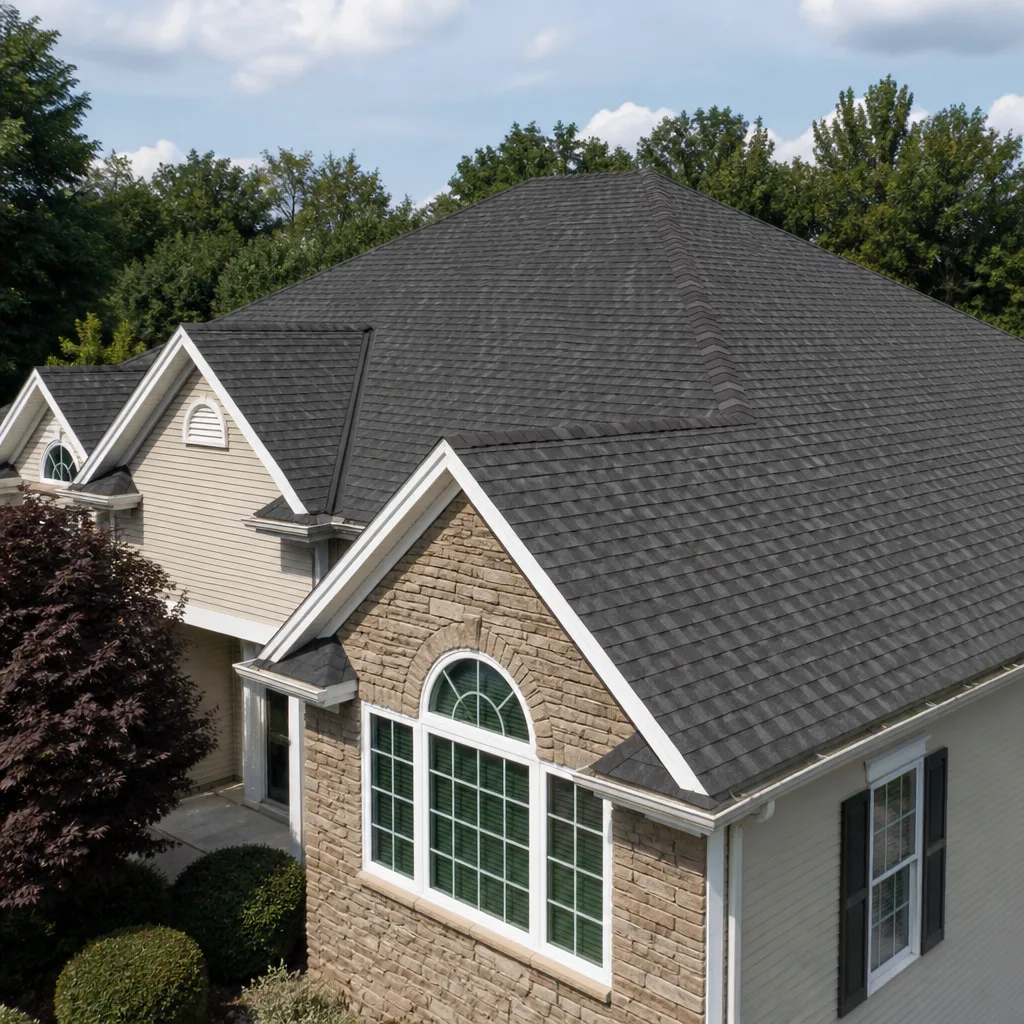 Owens Corning
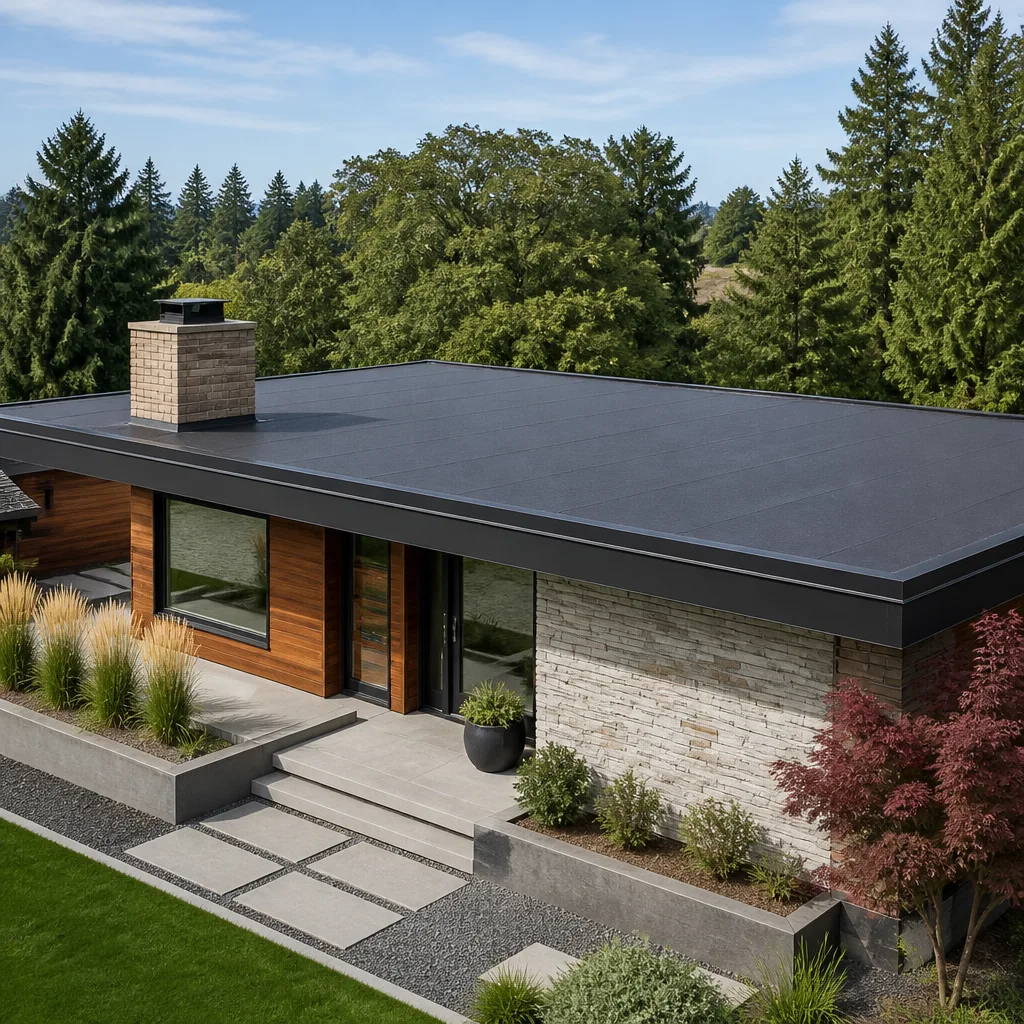 Flat & low-slope
Free roof inspection with deck photos before we talk money - GAF and Owens Corning certified installation
DIY vs Professional Metal Roofing: What’s Safe to Do Yourself
YouTube makes standing-seam installation look like a weekend project. The part they cut out is the $3,200 in wasted panels from the first two rows while you learned how to run the seamer. Metal roofing is one of the few trades where a small beginner’s error compounds with every panel you set above it. This guide draws an honest line: three things you can safely do yourself, the specific mistakes that void your warranty, and the real math on whether saving the labor is worth the risk. We’ve watched enough Whitney roofs go wrong to know where that line sits.
Quick Answer
A confident homeowner can safely clear debris from a metal roof, reseal exposed fasteners on an accessible low-slope section, and handle minor paint touch-ups. A full metal roof installation – or any repair involving the panels themselves, the seams, or the roof’s structure – is not safe to do yourself. Between the fall risk, the specialty tools, and the manufacturer warranties that specifically exclude owner-installed work, the savings rarely survive the first mistake.
Styles & brands we work with
- Architectural shingles
- Metal roofing
- Tile roofing
- GAF
- Owens Corning
- Flat & low-slope
Table of Contents
- The Three Things You Can Actually Do Yourself
- Why Metal Roofing Mistakes Compound
- What Metal Roofing Warranties Actually Require
- The Honest Math on DIY Labor Savings
- Bill’s Rule for When DIY Makes Sense
- What Whitney Homeowners Should Know Before Starting
- Common Mistakes to Avoid
- When to Call a Professional
The Three Things You Can Actually Do Yourself
We’re not going to tell you every single task on a metal roof requires a licensed roofer – that’s the kind of answer that makes homeowners stop trusting roofers. There are exactly three tasks that are genuinely safe and cost-effective for a homeowner to handle. Here they are, in order of how often we recommend them.
- Clearing debris and inspecting after a storm. Pine needles, oak leaves, and small branches collect in the valleys and behind chimneys. A soft-bristle broom or a leaf blower on low works fine. Stay off the roof if it’s wet, above a single-story height, or if you can see any lifting panels – call us instead.
- Resealing exposed fasteners on an accessible low-slope section. On a porch roof, a shed, or a first-story lean-to, you can clean around a fastener head and apply a small bead of approved sealant. Match the sealant to the panel manufacturer’s spec (GAF and CertainTeed both publish approved sealant lists) – the wrong caulk is worse than no caulk.
- Paint touch-ups on scratches and scuffs. A scratch on a painted metal panel will rust if left alone. Touch-up paint in the matching color, applied per the manufacturer’s instructions, stops rust from spreading. This is a $20 fix that saves a $400 panel.
That’s the list. Everything else – panel replacement, seam work, flashing around a chimney or skylight, any structural fastener – requires training, tools most homeowners don’t own, and a working relationship with the manufacturer’s warranty department.
If you’re not sure whether your issue falls on this list or the other one, call us for a roof repair in Whitney assessment. Free second opinions on any written estimate are standard.
Why Metal Roofing Mistakes Compound
Asphalt shingles forgive a lot. If you set a shingle a quarter-inch out of square, the next course covers it and nobody ever knows. Metal roofing is the opposite. A standing-seam panel is a long, rigid sheet that locks into the panel beside it. If your first starter panel is off-square by even a small amount, every panel above it inherits that error and amplifies it. By the end of a 30-foot run you can be three or four inches off plumb, and the seams won’t close.
We’ve seen this on Whitney roofs more than a few times – most often on outbuildings and additions where a homeowner took a shot at it themselves. The failure pattern is always the same:
- The starter panel gets set without a template or a reference line, and it looks fine in the moment.
- By panel four or five, the seams start fighting. The homeowner forces them, crimping the edge.
- By panel ten, the run is visibly off-square. The panels above have to be recut – and metal panels aren’t cheap to recut.
- The seamer is a $2,000+ tool most homeowners rent. Rental units are rarely calibrated, and a bad crimp fails in the first wind event.
- Fasteners get over-driven. Every over-driven screw is a leak path the size of a pencil eraser that won’t show up until the first hard rain.
This is the part the videos skip. The first two rows on a metal roof are the tuition rows. If you’ve never run a seamer, expect to waste panels while you learn. That’s the $3,200 in wasted material we mentioned at the top of this guide.
For an overview of what a properly installed metal roof looks like when it’s done, see our metal roofing in Whitney page.
What Metal Roofing Warranties Actually Require
This is the section most homeowners get blindsided by after the fact. Metal roofing manufacturers – Boral, GAF, Atlas, and the rest – write their warranties around professional installation by a contractor with a valid state license. When you install yourself, you’re not voiding the product warranty on the panels themselves (they’ll still warrant the steel or the paint finish against manufacturing defects), but you are voiding almost everything else.
Here’s what that means in plain English:
- The finish warranty (typically a paint or coating warranty) usually requires proof of professional installation. No receipt from a licensed installer, no claim.
- The weather-tightness warranty – the one that covers leaks – almost always requires professional installation. This is the one that matters most. If your roof leaks in year four because a fastener was over-driven, the manufacturer will point to the installation and decline.
- The wind uplift warranty – the warranty that covers the panels in a wind event – is tied to the nailing pattern and the panel spec, and it requires sign-off from a licensed installer. The nailing pattern earns the wind rating, not the shingle wrapper. Same rule for metal.
- The labor warranty doesn’t come from the manufacturer at all. It comes from the installer. If you installed it, you are the labor warranty.
In our experience, most Whitney homeowners who attempt their own metal roof do so to save the labor line, then discover a year later that the only coverage they have is a paint finish warranty that doesn’t pay for a leak fix. That trade is not the deal it looks like at the outset.
The Honest Math on DIY Labor Savings
Labor is roughly 40 to 60 percent of a metal roofing project, depending on the profile, the pitch, and the complexity. On a Whitney install, that’s real money. So let’s actually do the math instead of hand-waving it.
Take a typical 1,800-square-foot Whitney-area roof, single-story, moderately complex with two valleys and a chimney. A ballpark all-in range sits somewhere between $18,000 and $32,000 depending on panel type, thickness, and accessories. Call it $24,000 for the middle. Labor is $10,000 to $13,000 of that.
If you DIY the installation, here’s what the “savings” actually gets eaten by:
- Panel waste – first-two-rows tuition, recuts, miscuts. Expect $2,000 to $4,000 on a first install.
- Tool rental or purchase – seamer, nibbler, panel lift, magnetic drivers, scaffolding. $1,500 to $2,500 for the duration.
- Time – a trained crew does this in a week. A first-time homeowner takes a month or more, and the weather doesn’t cooperate. Every exposed-OSB day on a Whitney roof in monsoon season is a risk.
- The redo – if the install fails an inspection or a warranty claim, you’re paying twice. And by then the roof is on the house, not in the yard.
Add it up and a confident, well-equipped homeowner might net $3,000 to $5,000 of true savings – if everything goes right on the first try. If things go wrong, they can lose the entire $13,000 and end up paying a pro to tear it off and start over. Ask any Whitney homeowner who’s been through a failed install and they’ll tell you which side of the bet they’d take now.
For an apples-to-apples comparison with a full replacement scope, see our roof replacement and installation in Whitney page.
Bill’s Rule for When DIY Makes Sense
Here’s the rule I actually use when a homeowner asks me, straight up, whether they should try something on their own roof. I say yes if all four of these are true:
- You can do the work without going higher than a single story, or you have safe ladder access and a helper. Most falls happen from a single-story eave, not a second-story peak.
- The roof is dry, has no active leak, and isn’t in the middle of a repair the pro started. If a pro did the install, call the pro – even for a small fix – so you don’t void their workmanship on the surrounding panels.
- You’re not touching the panels themselves, the seams, or the flashing. Cleaning, resealing on a low-slope section, and paint touch-ups only.
- You can stop if you see anything unexpected. Lifting panels, popped fasteners, rust at the cut edges, water stains on the underside of the deck. Stop and call.
If all four are true, I’ll tell you to go for it and mean it. If even one is false, I’ll tell you to let a pro handle it and explain why. That’s the whole rule. There’s no liability language involved – just what actually protects your roof and your family.
The most common version of this conversation in Whitney: a homeowner wants to “just run up there and screw down a few loose panels” after a wind event. Half the time that’s fine. The other half the time, the panels lifted because the fasteners underneath were already failing, and screwing down the top edge turns a small repair into a larger one. That’s not something a homeowner can diagnose from the ground.
What Whitney Homeowners Should Know Before Starting
Whitney sits in a climate that punishes bad metal roofing quickly. Summer surface temperatures on a dark metal panel hit 160°F and higher in direct sun, which expands the metal. Winter nights drop low enough to contract it. That thermal cycling is the reason fastener resealing matters here, and it’s the reason over-driven screws become leaks faster in Whitney than in a milder climate. Panels fatigue and seals fail when the panel can’t move the way it was engineered to.
Two other local factors matter:
- Wind events. Whitney and the surrounding valley get high-wind afternoons in spring and fall. The panels that fail in those events are almost always the ones installed without the correct nailing pattern or with over-driven fasteners. The panel spec sheet isn’t the reason your roof handled the wind – the crew’s attention to the pattern is.
- Dust and debris. Whitney gets dust. Valleys and behind-chimney areas fill faster here than in wetter climates. That means debris clearing is genuinely more important on a Whitney metal roof – it’s one of the few maintenance tasks you should do yourself, and do regularly.
If you’re considering metal roofing in Whitney and want a straight read on what your roof actually needs, our team installs panels from Boral, GAF, Atlas, Tamko, and the other major manufacturers. We’ll walk you through what fits your home and what doesn’t, and you can compare it against our Shepherd & Sons Roofing Whitney home base for a sense of how we work.
Common Mistakes to Avoid
These are the ones we see most often on Whitney roofs. If you’re doing any DIY work – even the three tasks that are safe – these are worth reading.
- Over-driving fasteners. It feels efficient to “seat” a screw firmly. It crushes the washer and creates a permanent leak path. Fasteners should be snug, not torqued.
- Skipping the underlayment inspection. Before new panels go on, the deck and underlayment should be checked. On a Whitney roof during monsoon season, a missed soft spot becomes a sag within a year.
- Setting the starter panel without a reference line. This is the single biggest cause of wasted metal panel material. Snap a chalk line. Use a template. Confirm plumb at three points before securing.
- Using the wrong sealant. Hardware-store silicone on a metal panel is a mistake. Match to the manufacturer’s spec, every time. This is the fastest way to void a finish warranty.
- Working alone on the roof. Metal panels are long and awkward. A single misstep can put you off the edge. Always have a helper on the ground.
- Cutting panels with the wrong blade. An abrasive blade creates heat that destroys the panel’s coating at the cut edge. Use a nibbler or the panel manufacturer’s approved cutting tool.
- Walking on the panel field improperly. Metal panels are walked in specific zones – usually over the purlins, never on the flat pan between ribs. A step in the wrong place creases the panel permanently.
When to Call a Professional
Call a professional when any of the following are true: the work involves the panels themselves, the seams, the flashing, or any structural fastener; the roof is a second story or higher; there’s active leaking or visible panel damage; the roof was professionally installed and you want to preserve the workmanship warranty; or you’re not sure whether the issue fits on the safe-DIY list. Any of those, we’d rather you call us than take the chance.
Shepherd & Sons Roofing Whitney offers free estimates in Whitney – call (844) 797-9455. A live person answers, day or night, and I’ll be the one to tell you honestly whether your project is one you can handle yourself. Sometimes that’s the answer, and you’ll hear it from me. Sometimes it isn’t, and you’ll hear that, too – plus what it costs to have the work done right.
Frequently Asked Questions
You can physically install it, but doing so voids the manufacturer’s weather-tightness and wind-uplift warranties, which require licensed professional installation. You also take on fall risk, tool costs, and the very real possibility of wasting several thousand dollars in panels. We don’t recommend it for any home you plan to keep.
Three things: clear debris from valleys and behind chimneys, reseal exposed fasteners on an accessible single-story section, and handle paint touch-ups on scratches. Everything else – panel work, seams, flashing, structural fasteners – belongs to a pro. Call (844) 797-9455 if you’re not sure which category your project is in.
It voids the parts of the warranty that matter most. The finish warranty may survive (it covers paint and coating), but the weather-tightness and wind-uplift warranties almost always require professional installation. Leaks are the most common warranty claim, and a self-installed roof usually has no coverage for them.
In a best-case first install with no mistakes, roughly $3,000 to $5,000 on a typical Whitney roof. In a realistic first install with the usual recuts, tool costs, and time, the savings often shrink to zero or go negative. On a job this size, the risk-adjusted savings aren’t usually worth the downside.
Setting the starter panel out of square without a reference line. That one mistake cascades into every panel above it, and by the end of a run the seams won’t close. It’s also the mistake that wastes the most panel material – often more than the savings the DIY install was supposed to provide.
Only if it involves clearing debris or resealing an accessible fastener on a single-story section. If a panel has lifted, if fasteners have popped, or if the seal at a seam has failed, stop and call. Wind damage is rarely isolated, and what looks like one loose panel is often the first sign that the nailing pattern underneath has failed. Call (844) 797-9455 for a free second opinion on any written estimate before you touch anything.
The Bottom Line
Three tasks on a metal roof are safe to do yourself, and we’ll tell you plainly when yours is one of them. A full installation is not on that list – the manufacturer warranties don’t cover it, the mistakes compound, and the real-world savings of $3,000 to $5,000 disappear with the first miscalculated panel. If you’re considering metal roofing in Whitney, get a written estimate you can compare against the DIY math, ask how many squares the bidder counted, and make the call based on what’s actually on paper. That’s the deal either way.
Call Shepherd & Sons Roofing Whitney at (844) 797-9455 for a free estimate. No trip charge inside our own county, a free second opinion on any written estimate, and a live person on the phone – same address since 1996.
Written by the team at Shepherd & Sons Roofing Whitney.
See the difference
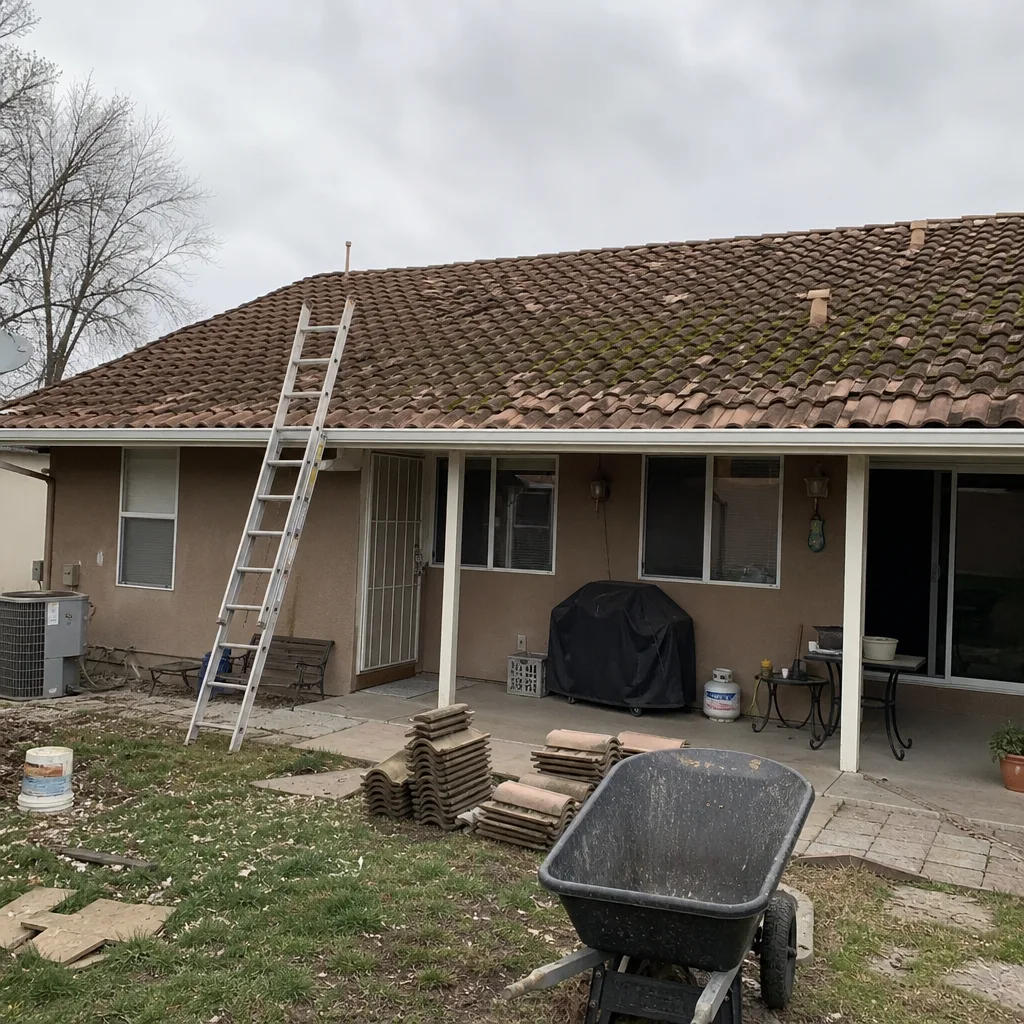 Before
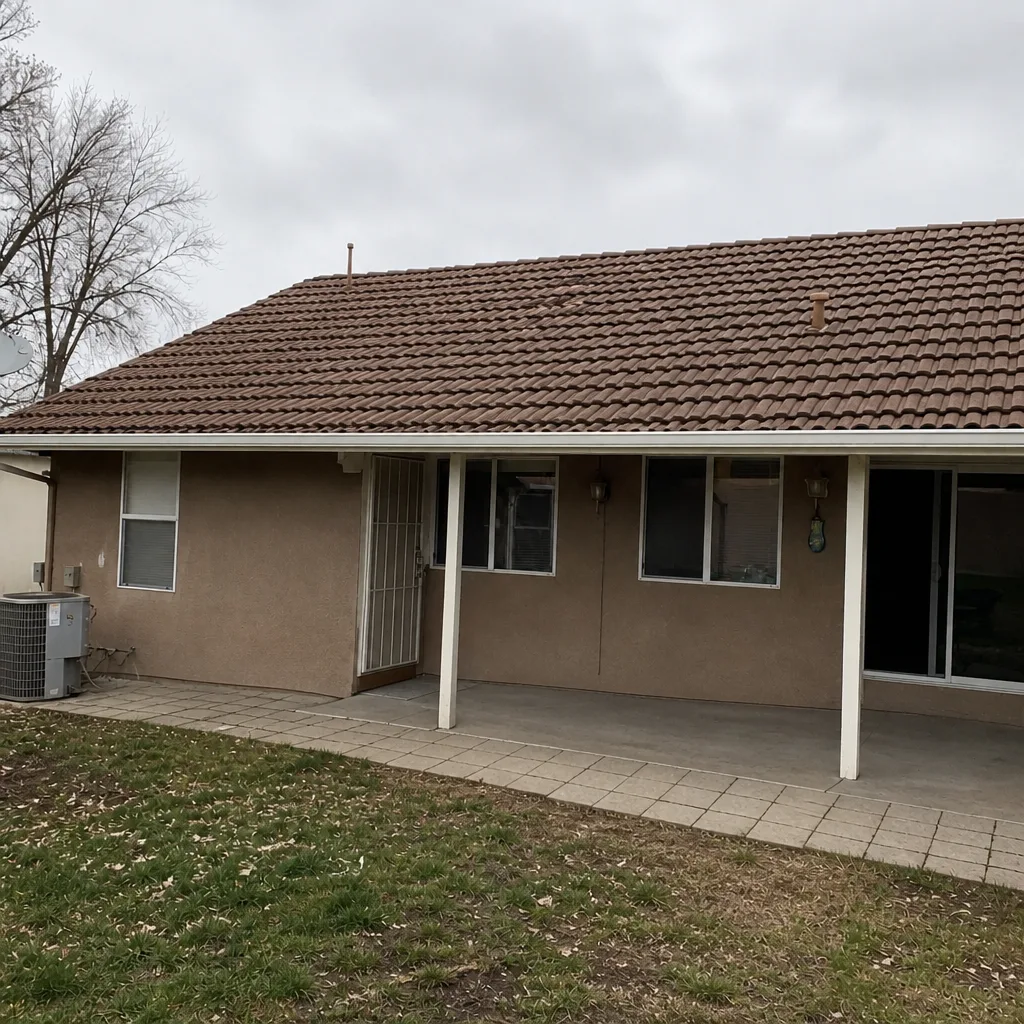 After
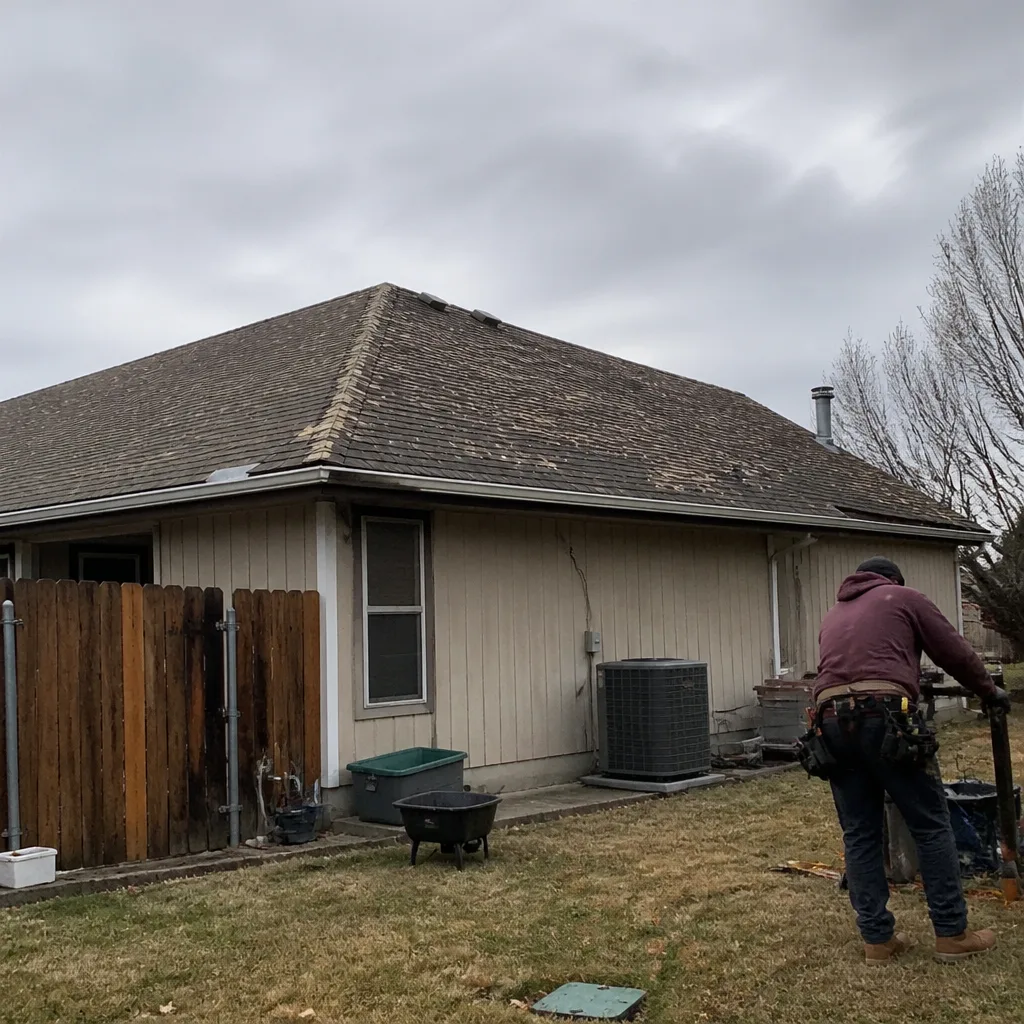 Before
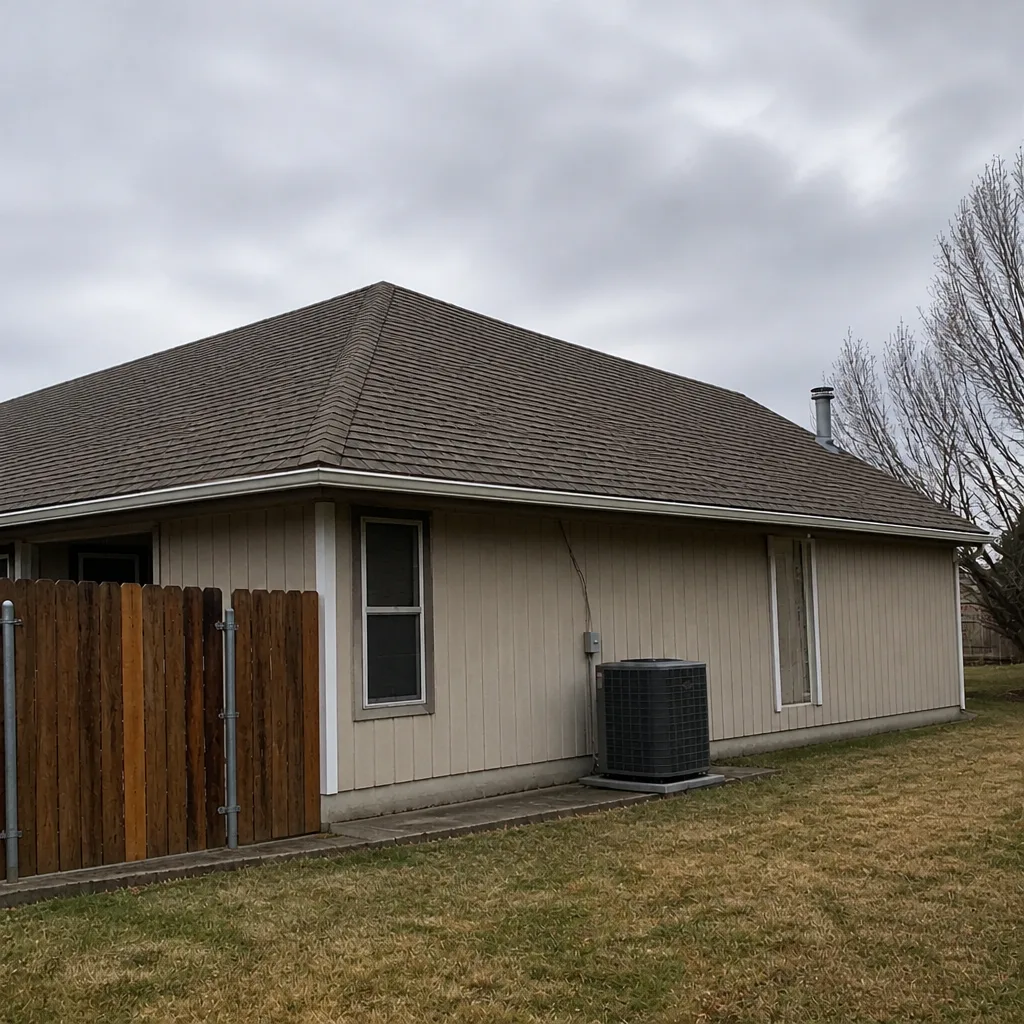 After
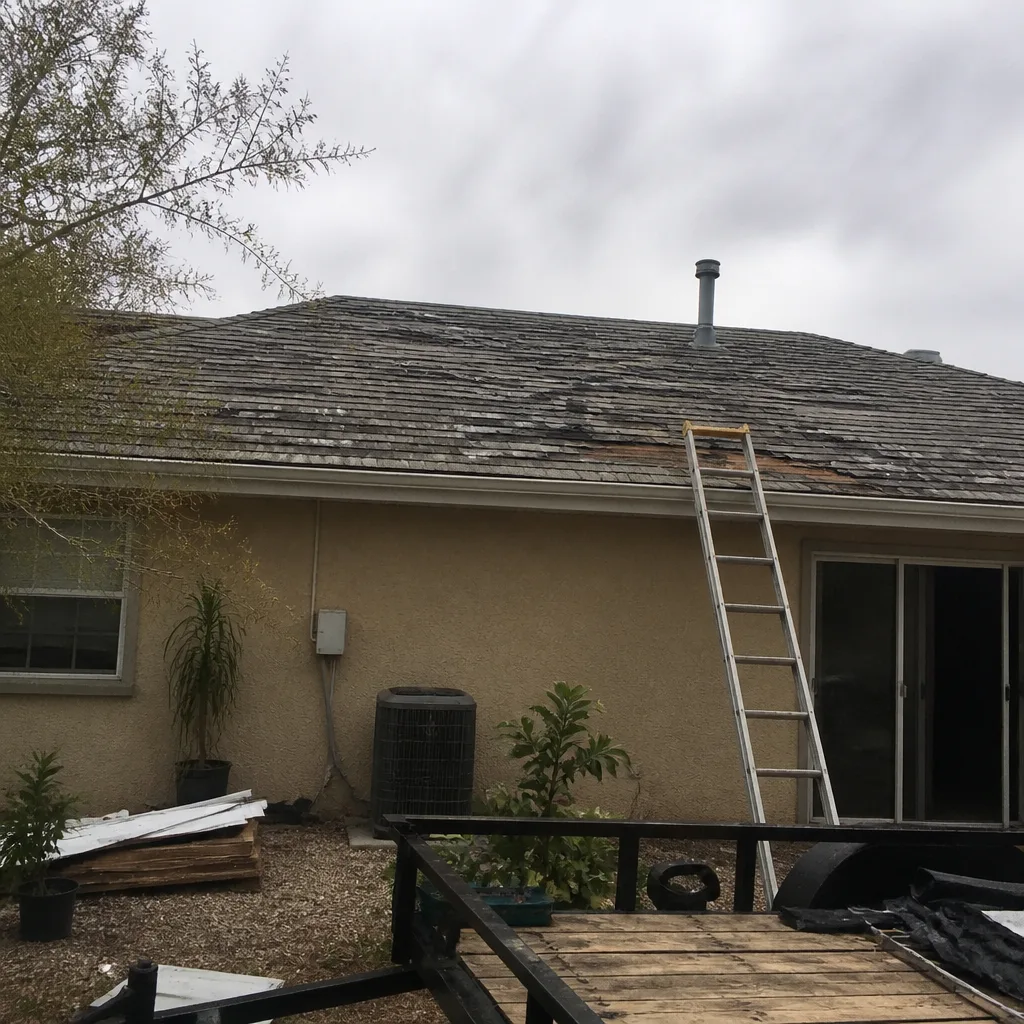 Before
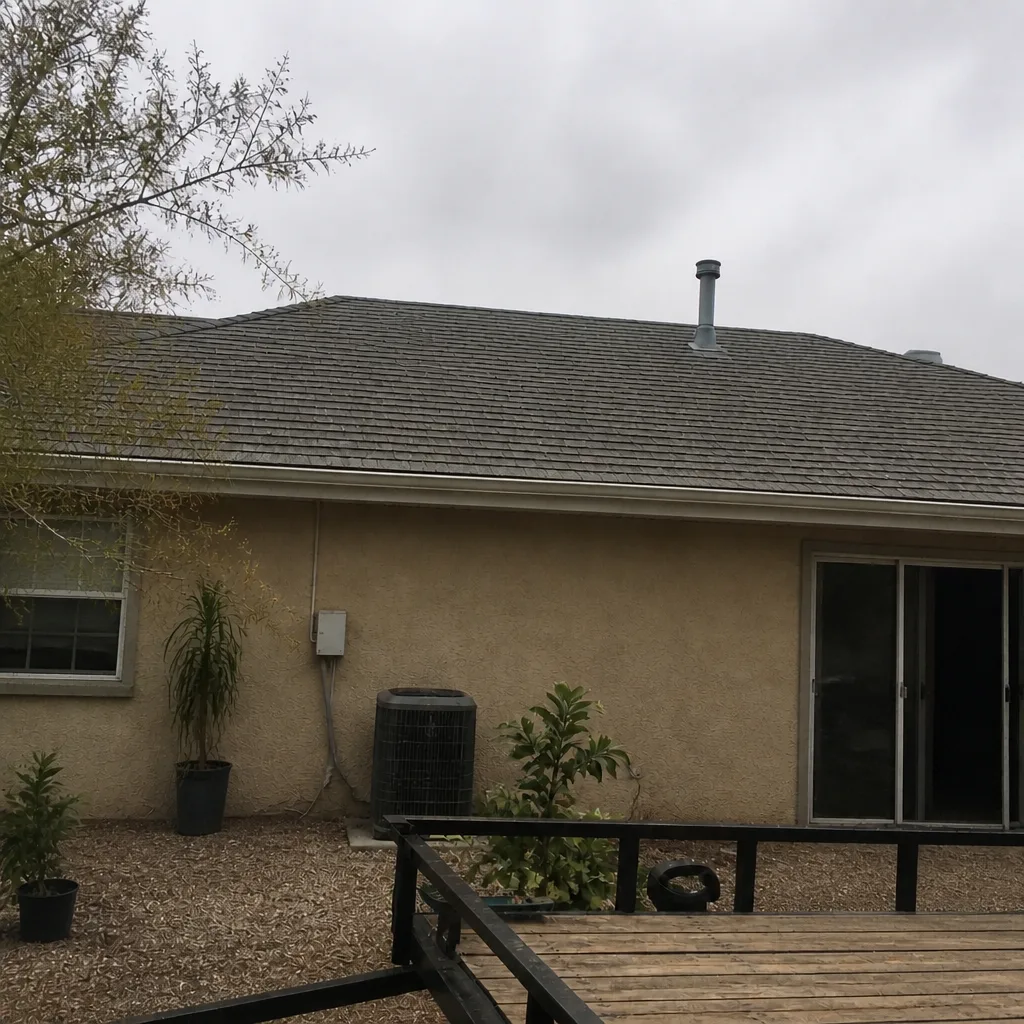 After